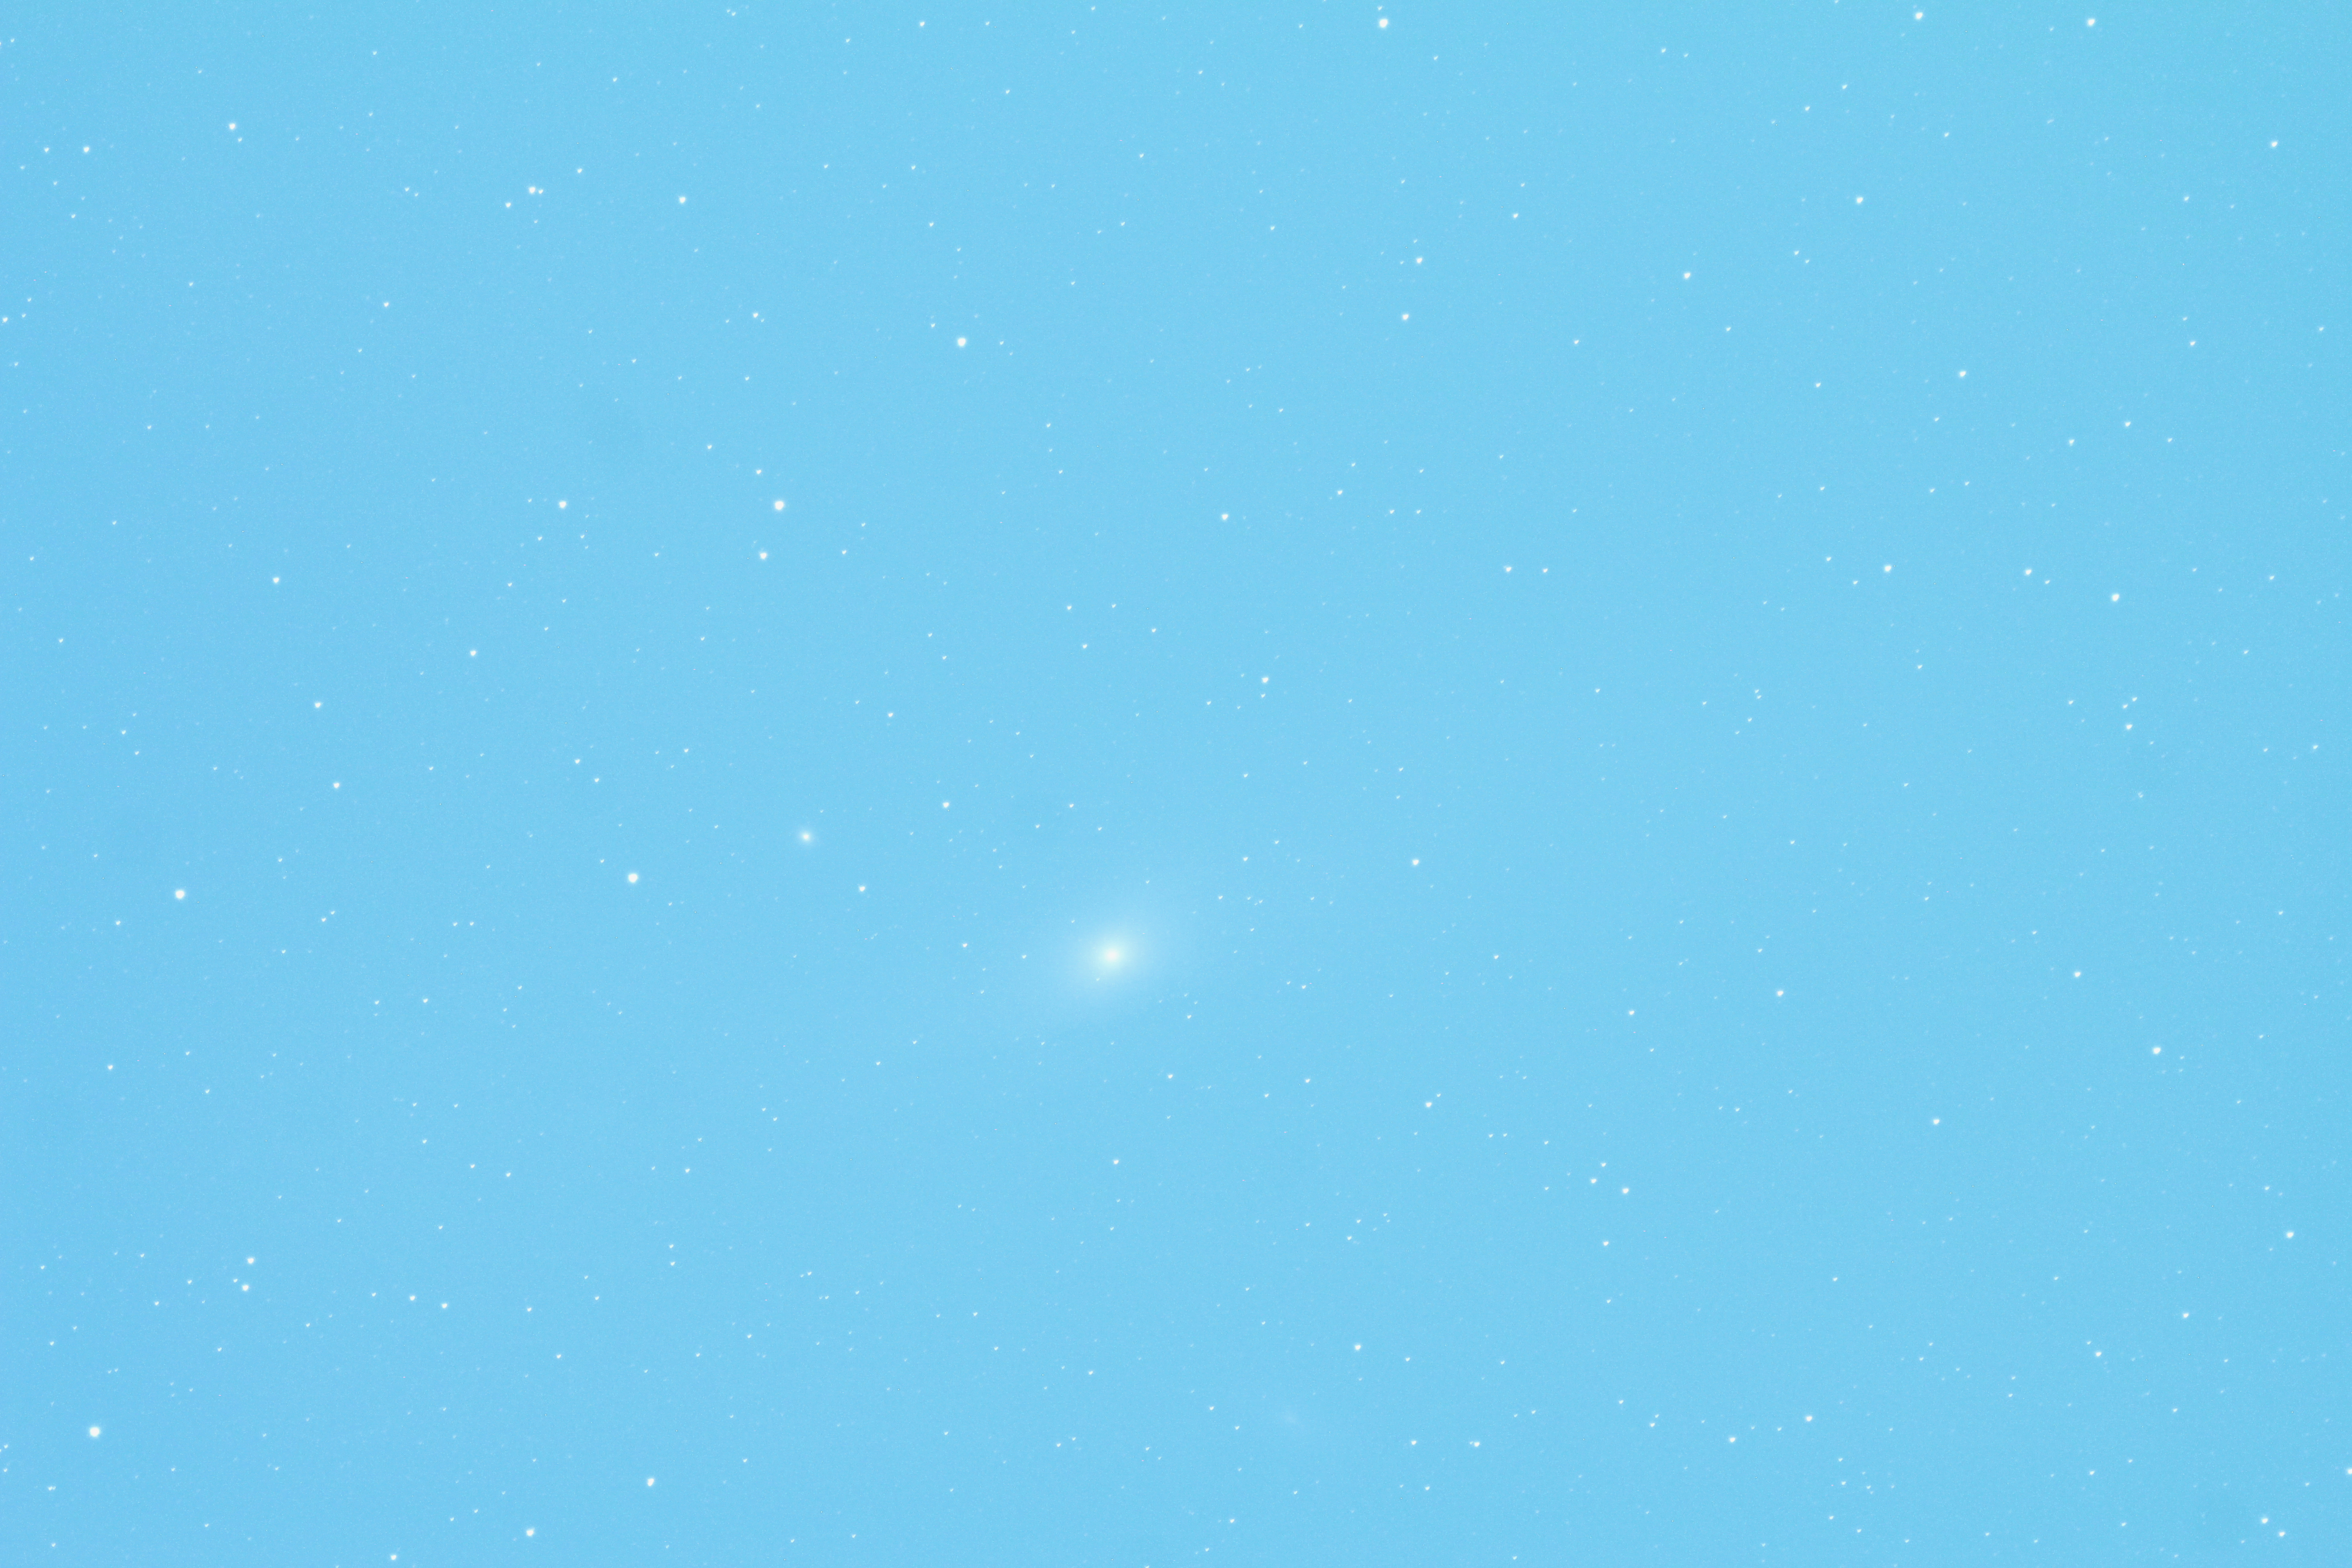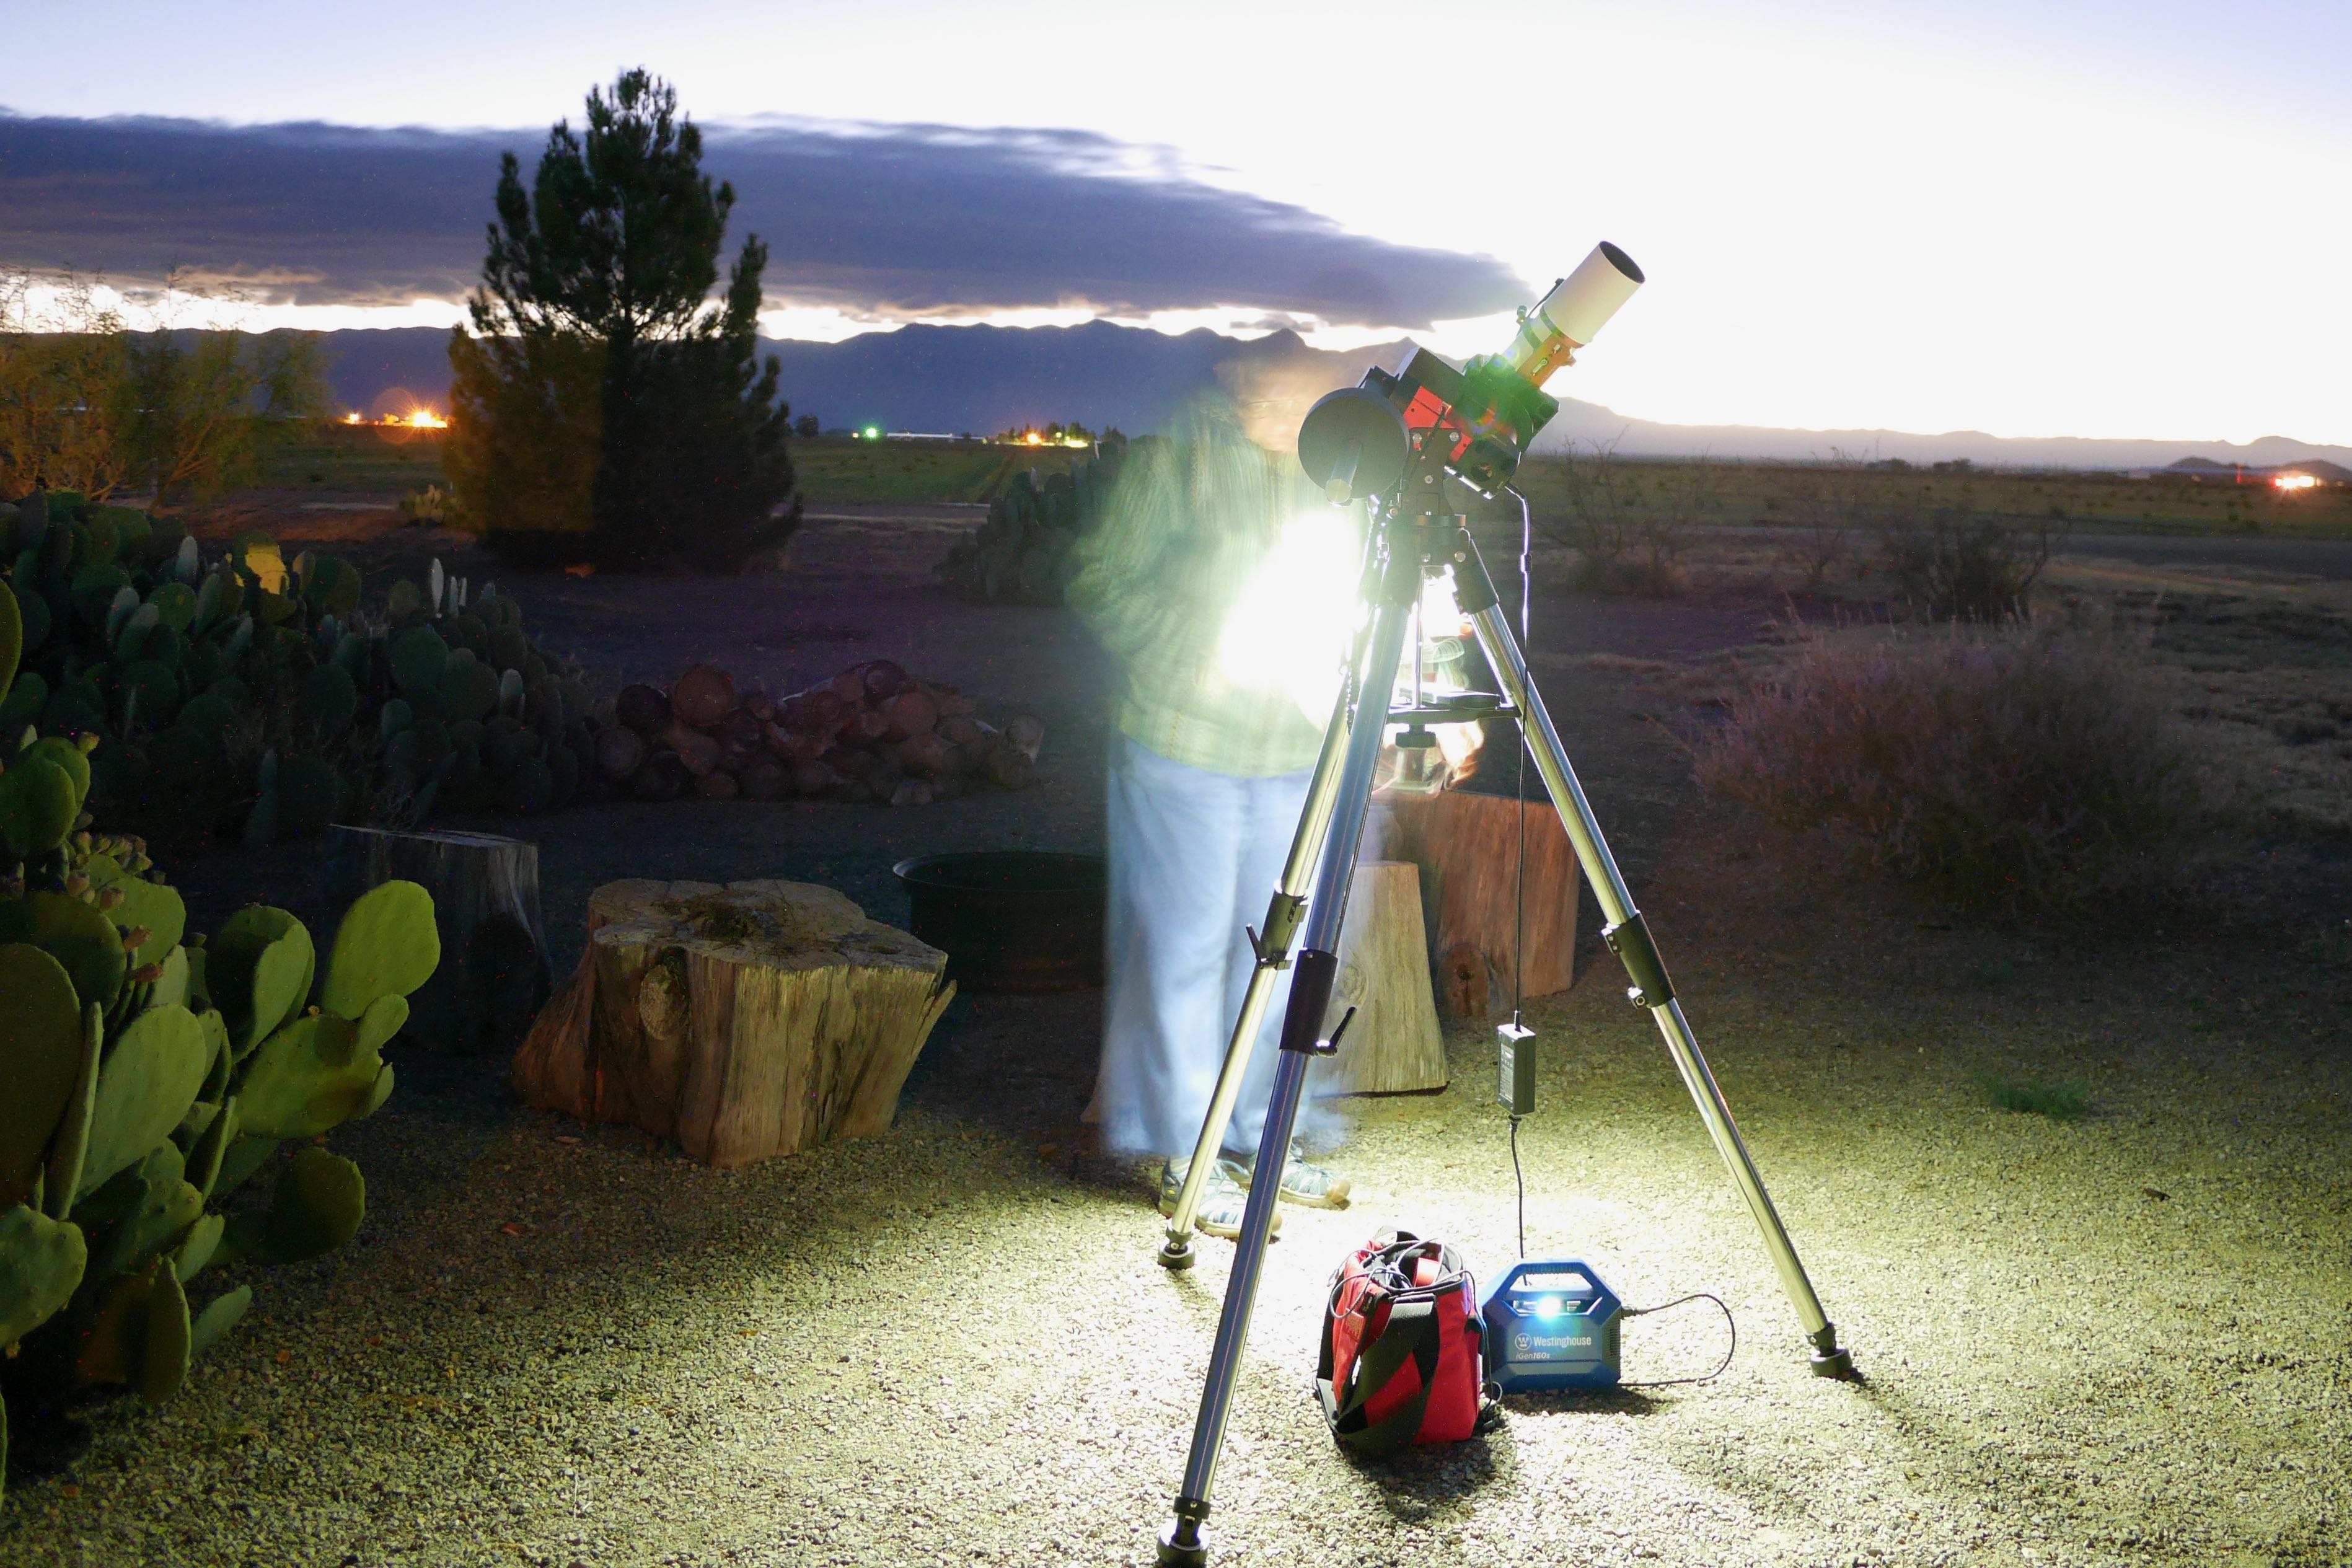
The first object that I got a satisfactory image of with my tracking mount and telescope and DSLR was M31, the Andromeda Galaxy, from the dark skies of Dell City, Texas in October 2022. My first image, above, was a 3 minute long exposure. I was so excited to have a good image that I took a picture of my camera’s viewfinder to send the picture to people.
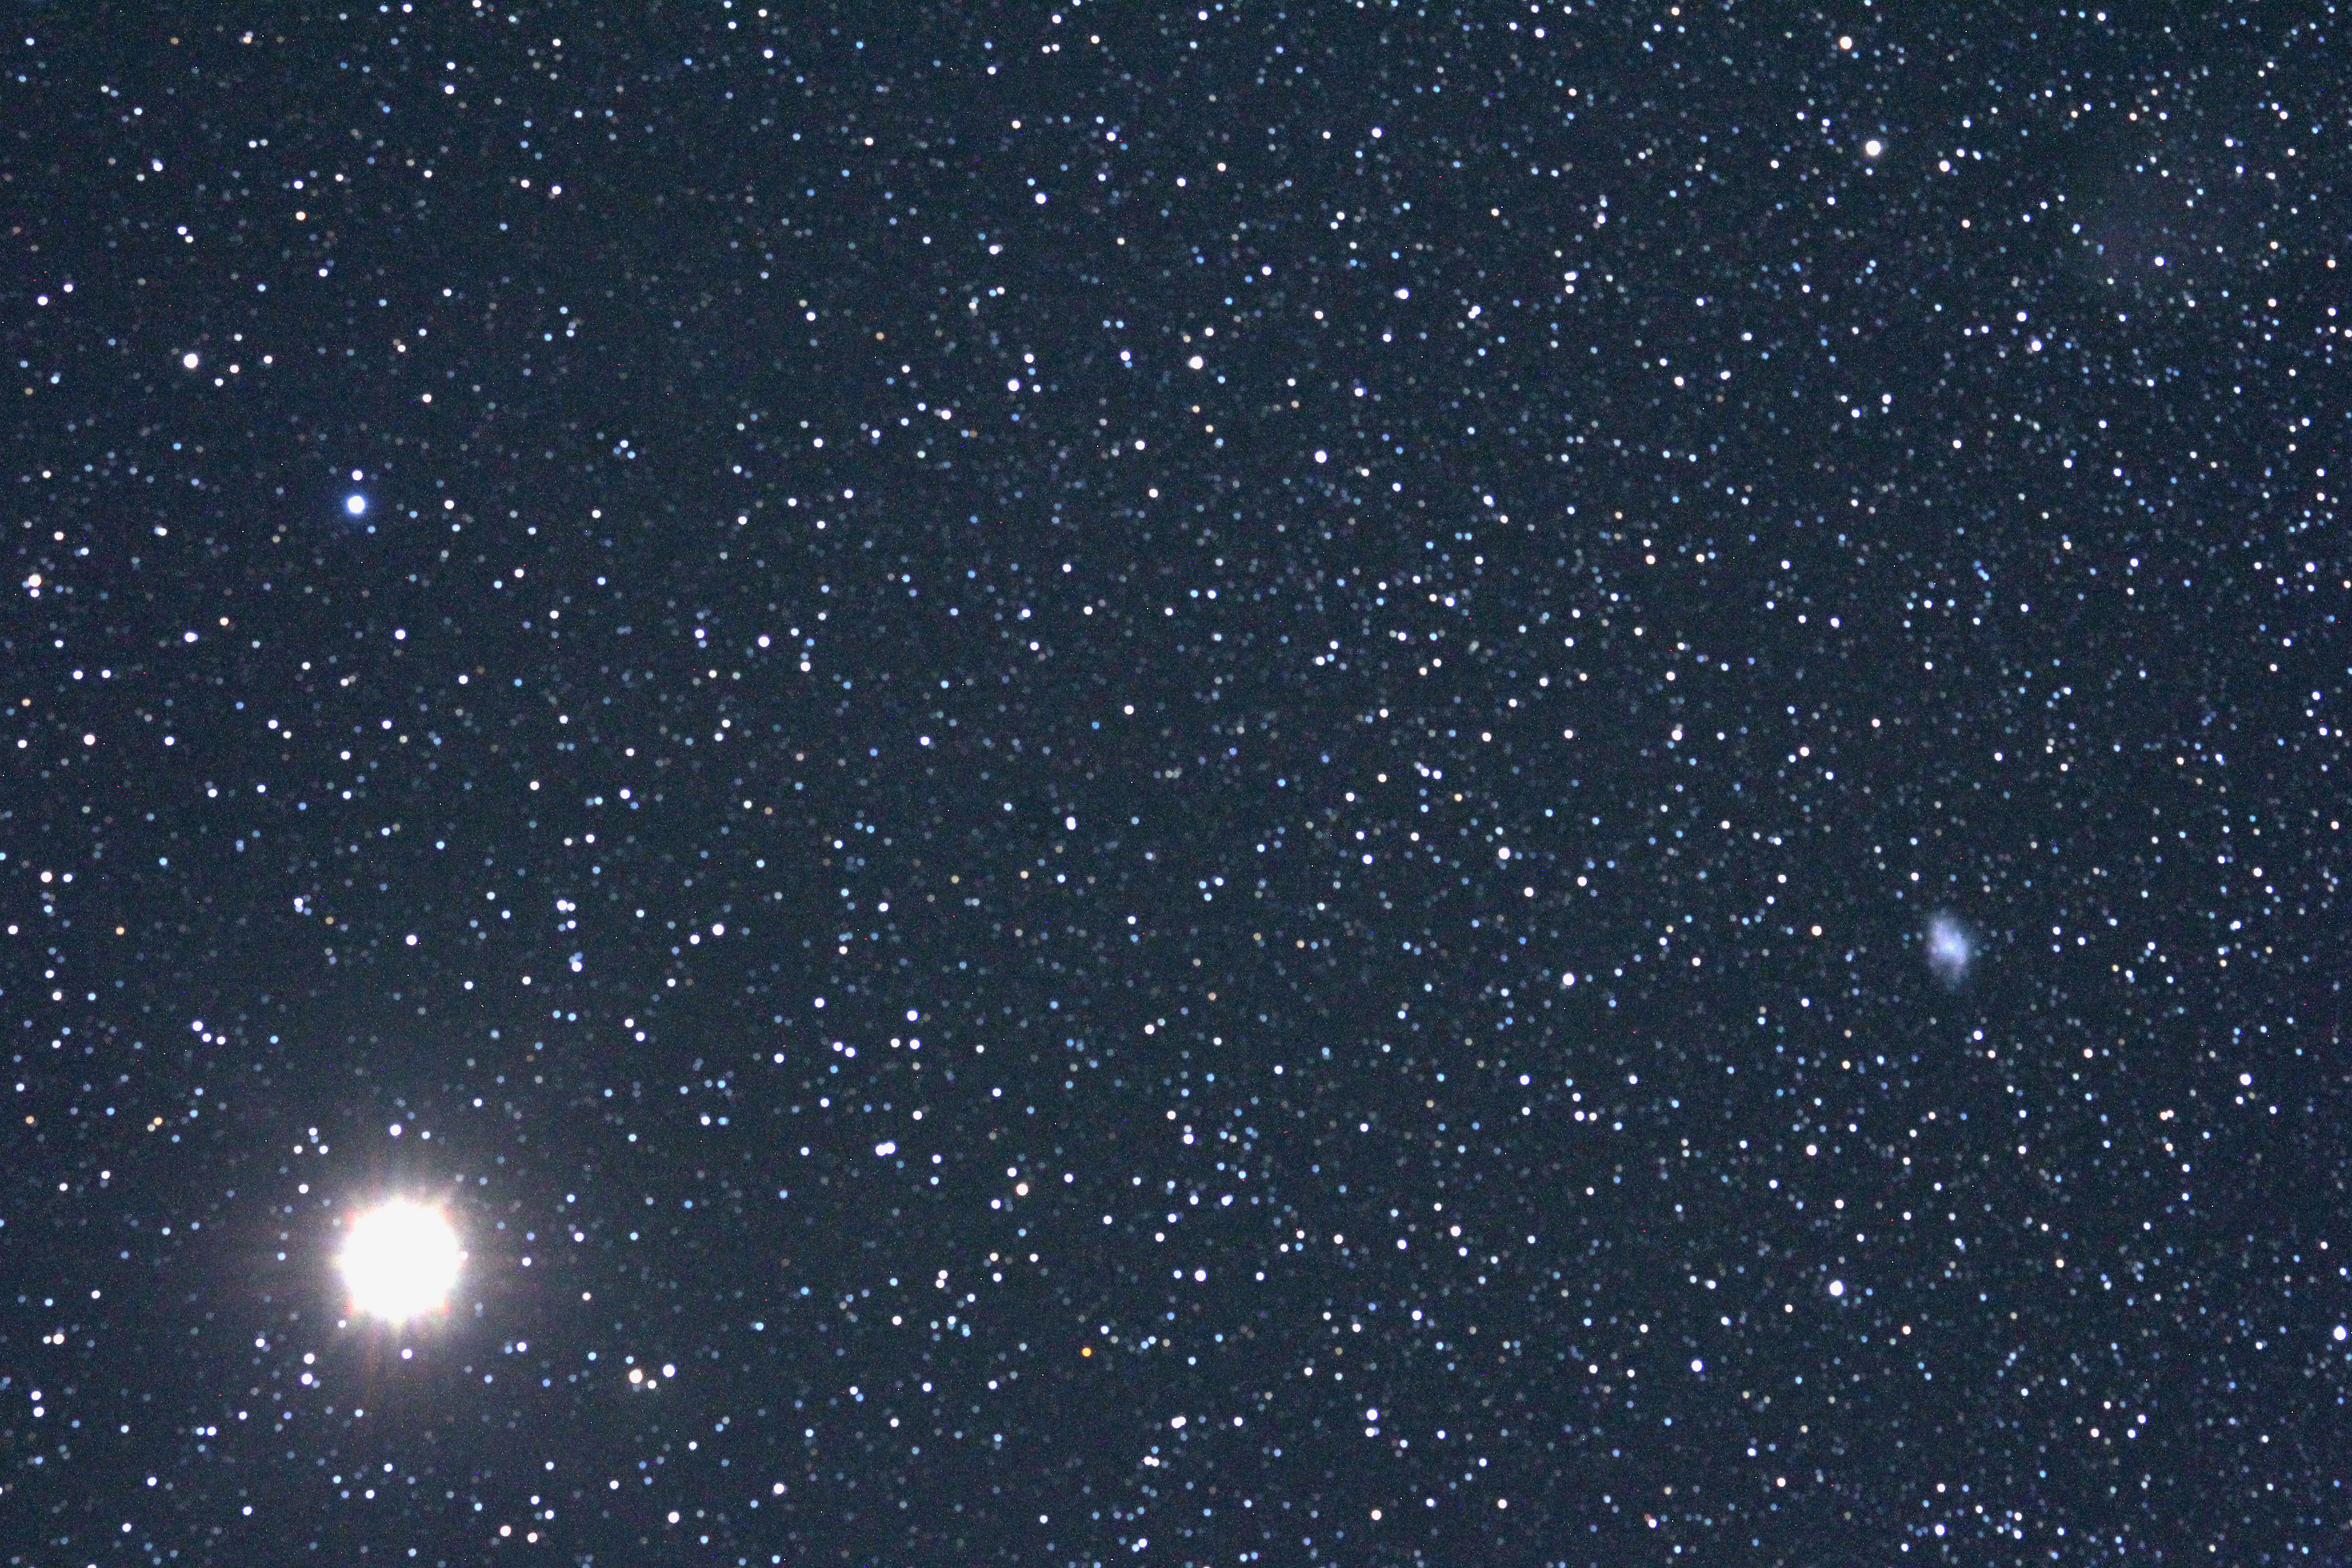
When I came home to Friendswood, Texas, I did some experiments to see if I could get the same results. It was not a surprise when the answer was “no” – my home skies are much more light polluted – I expected to get a completely white screen and was surprised when I could still see a hint of the galaxy.
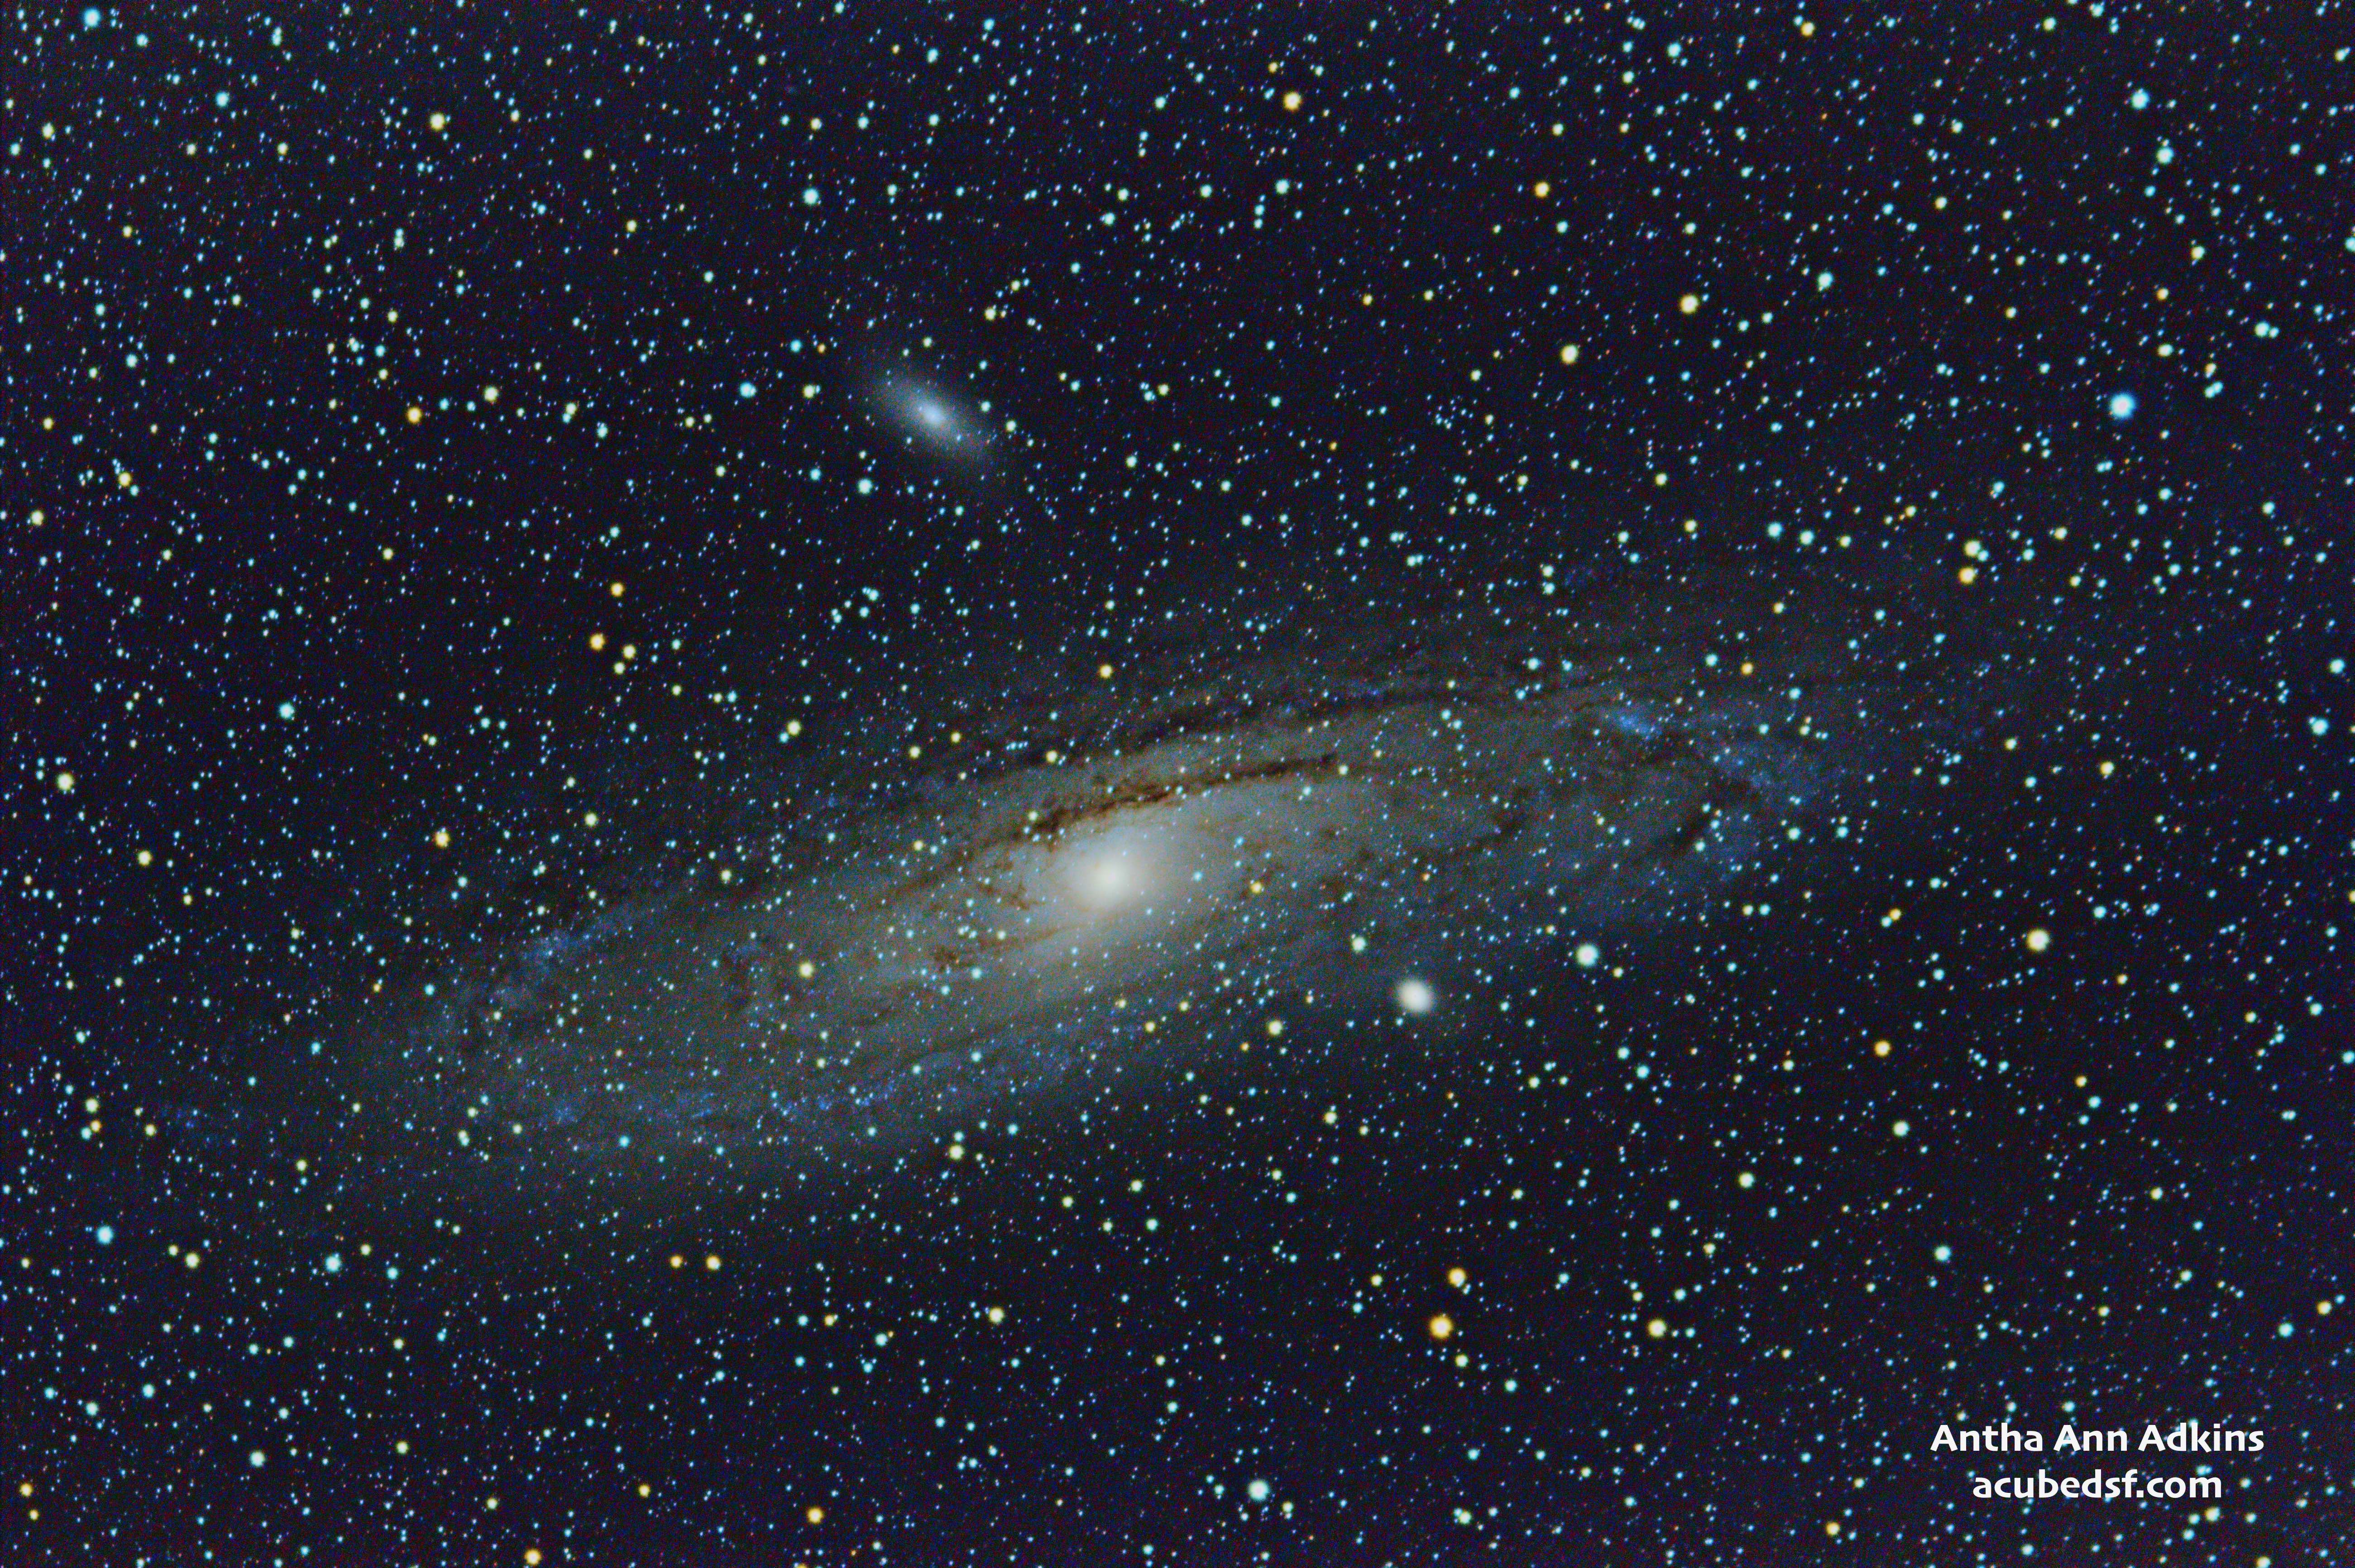
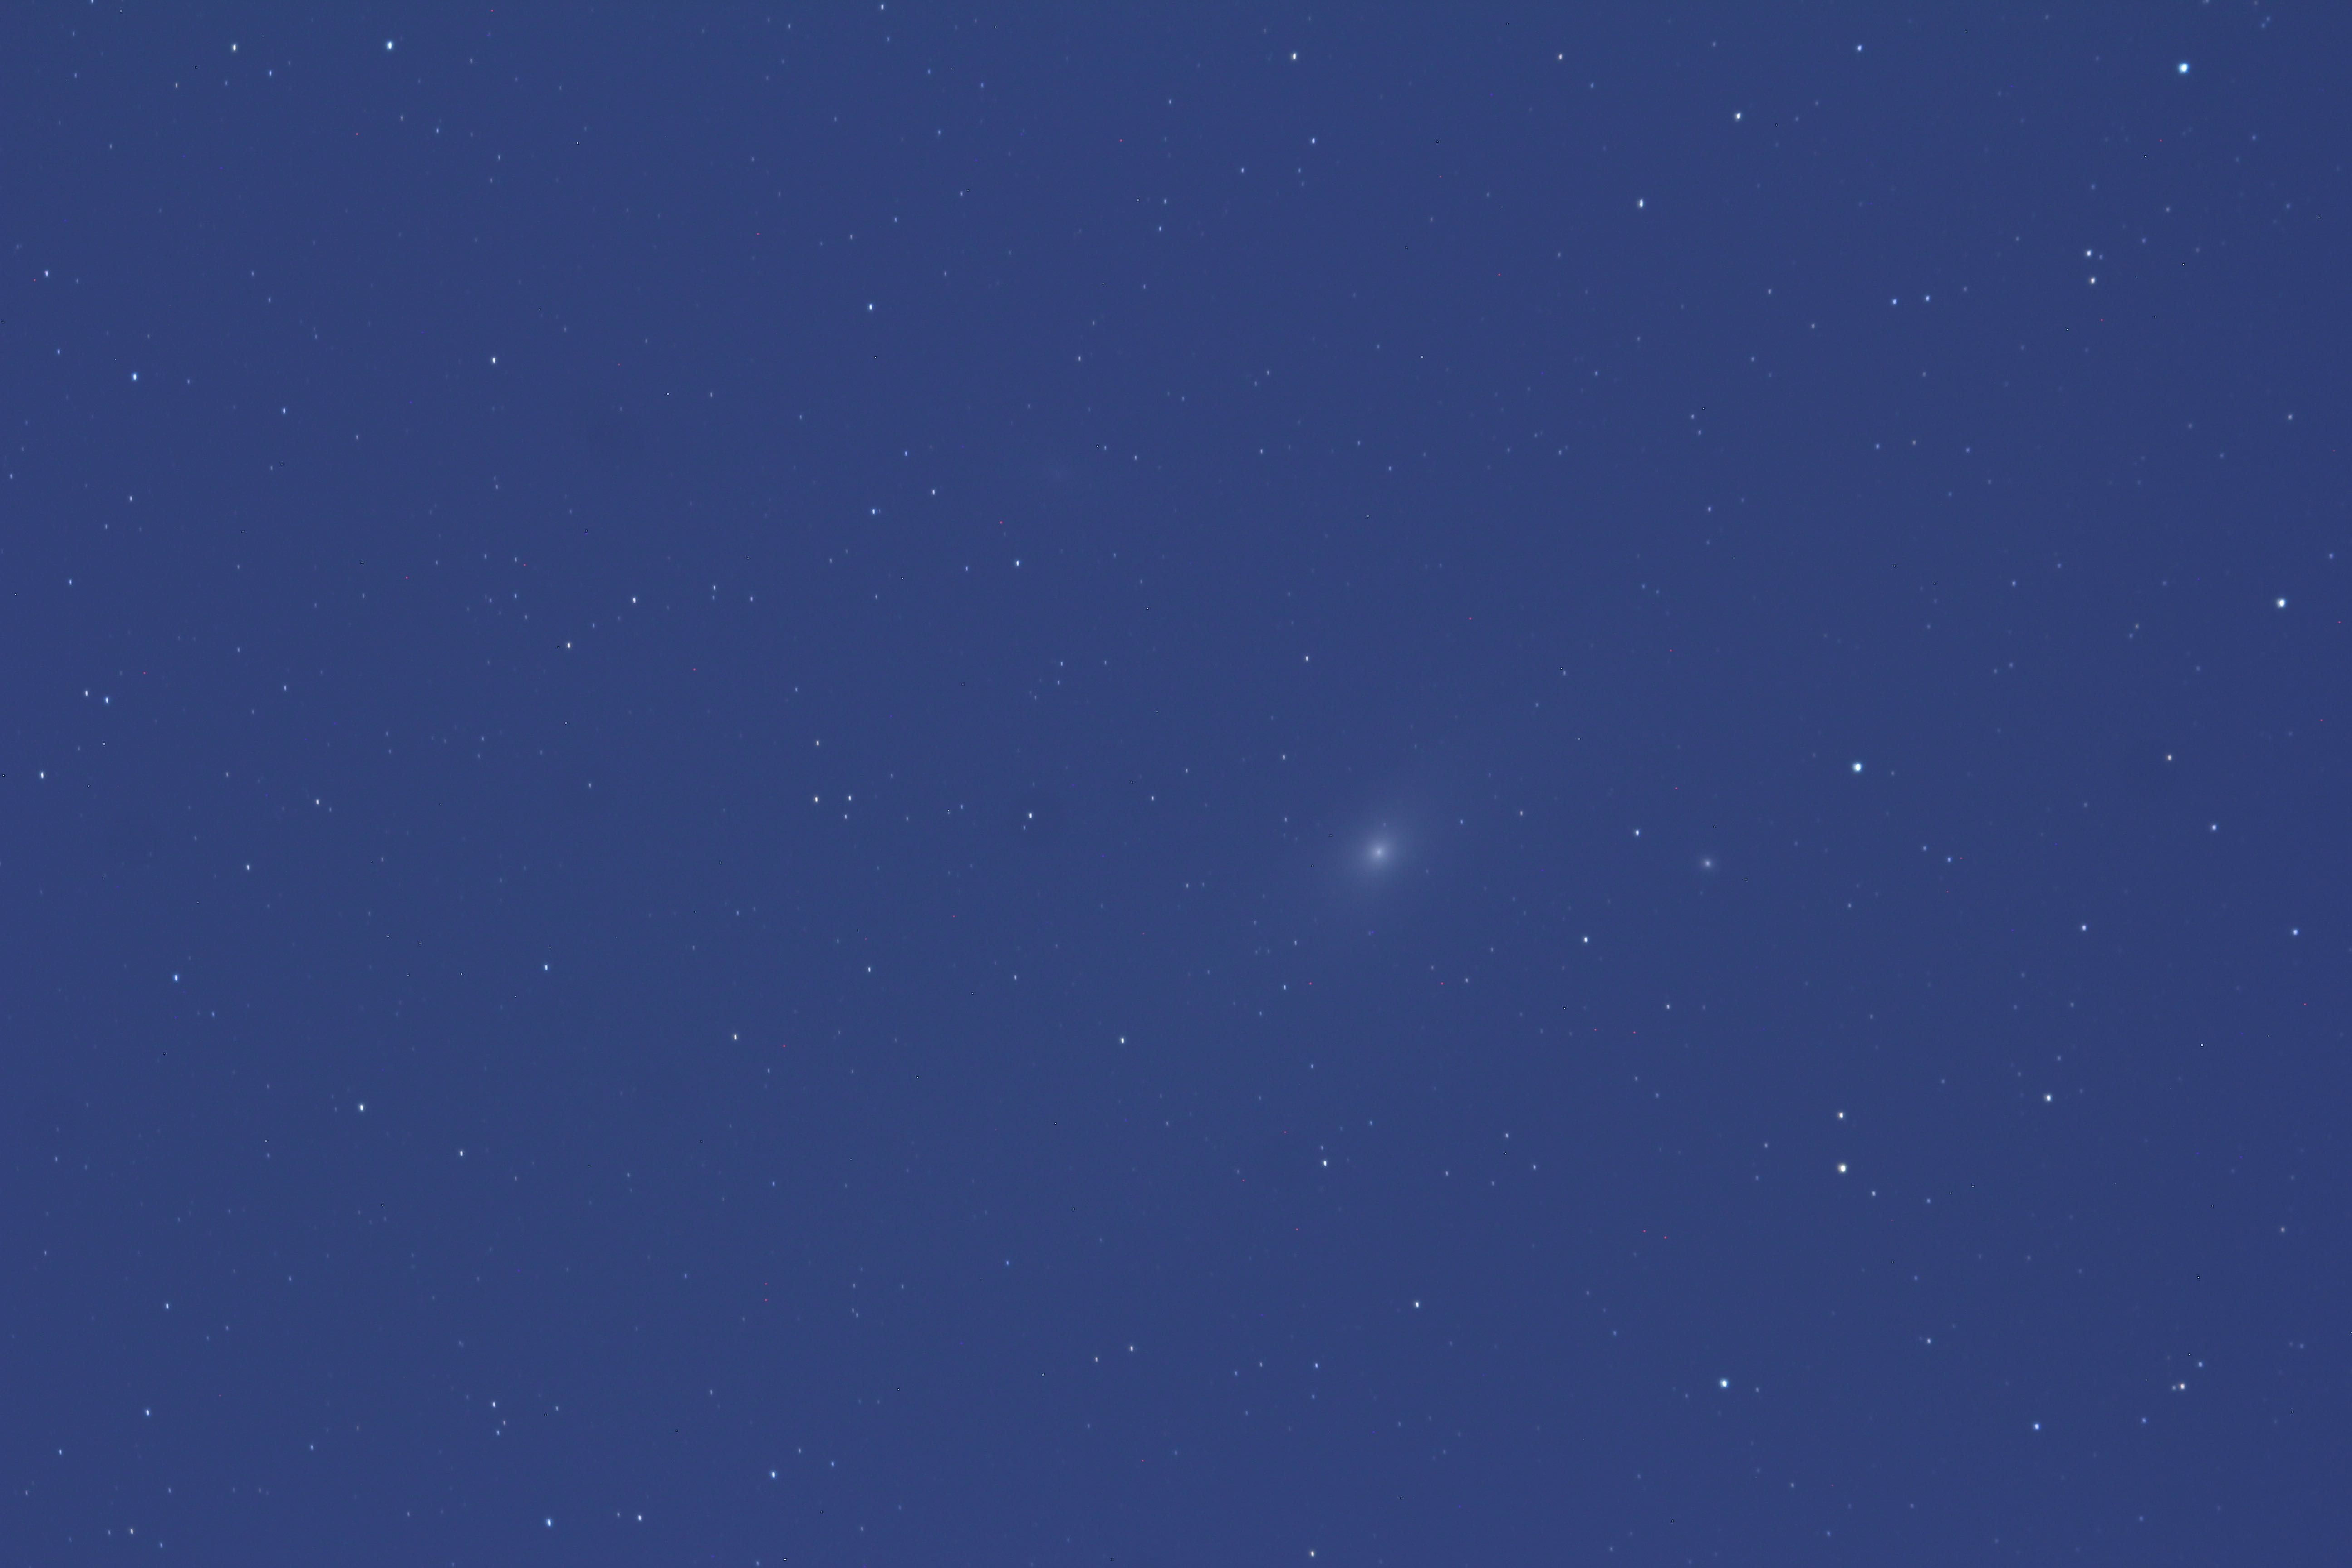
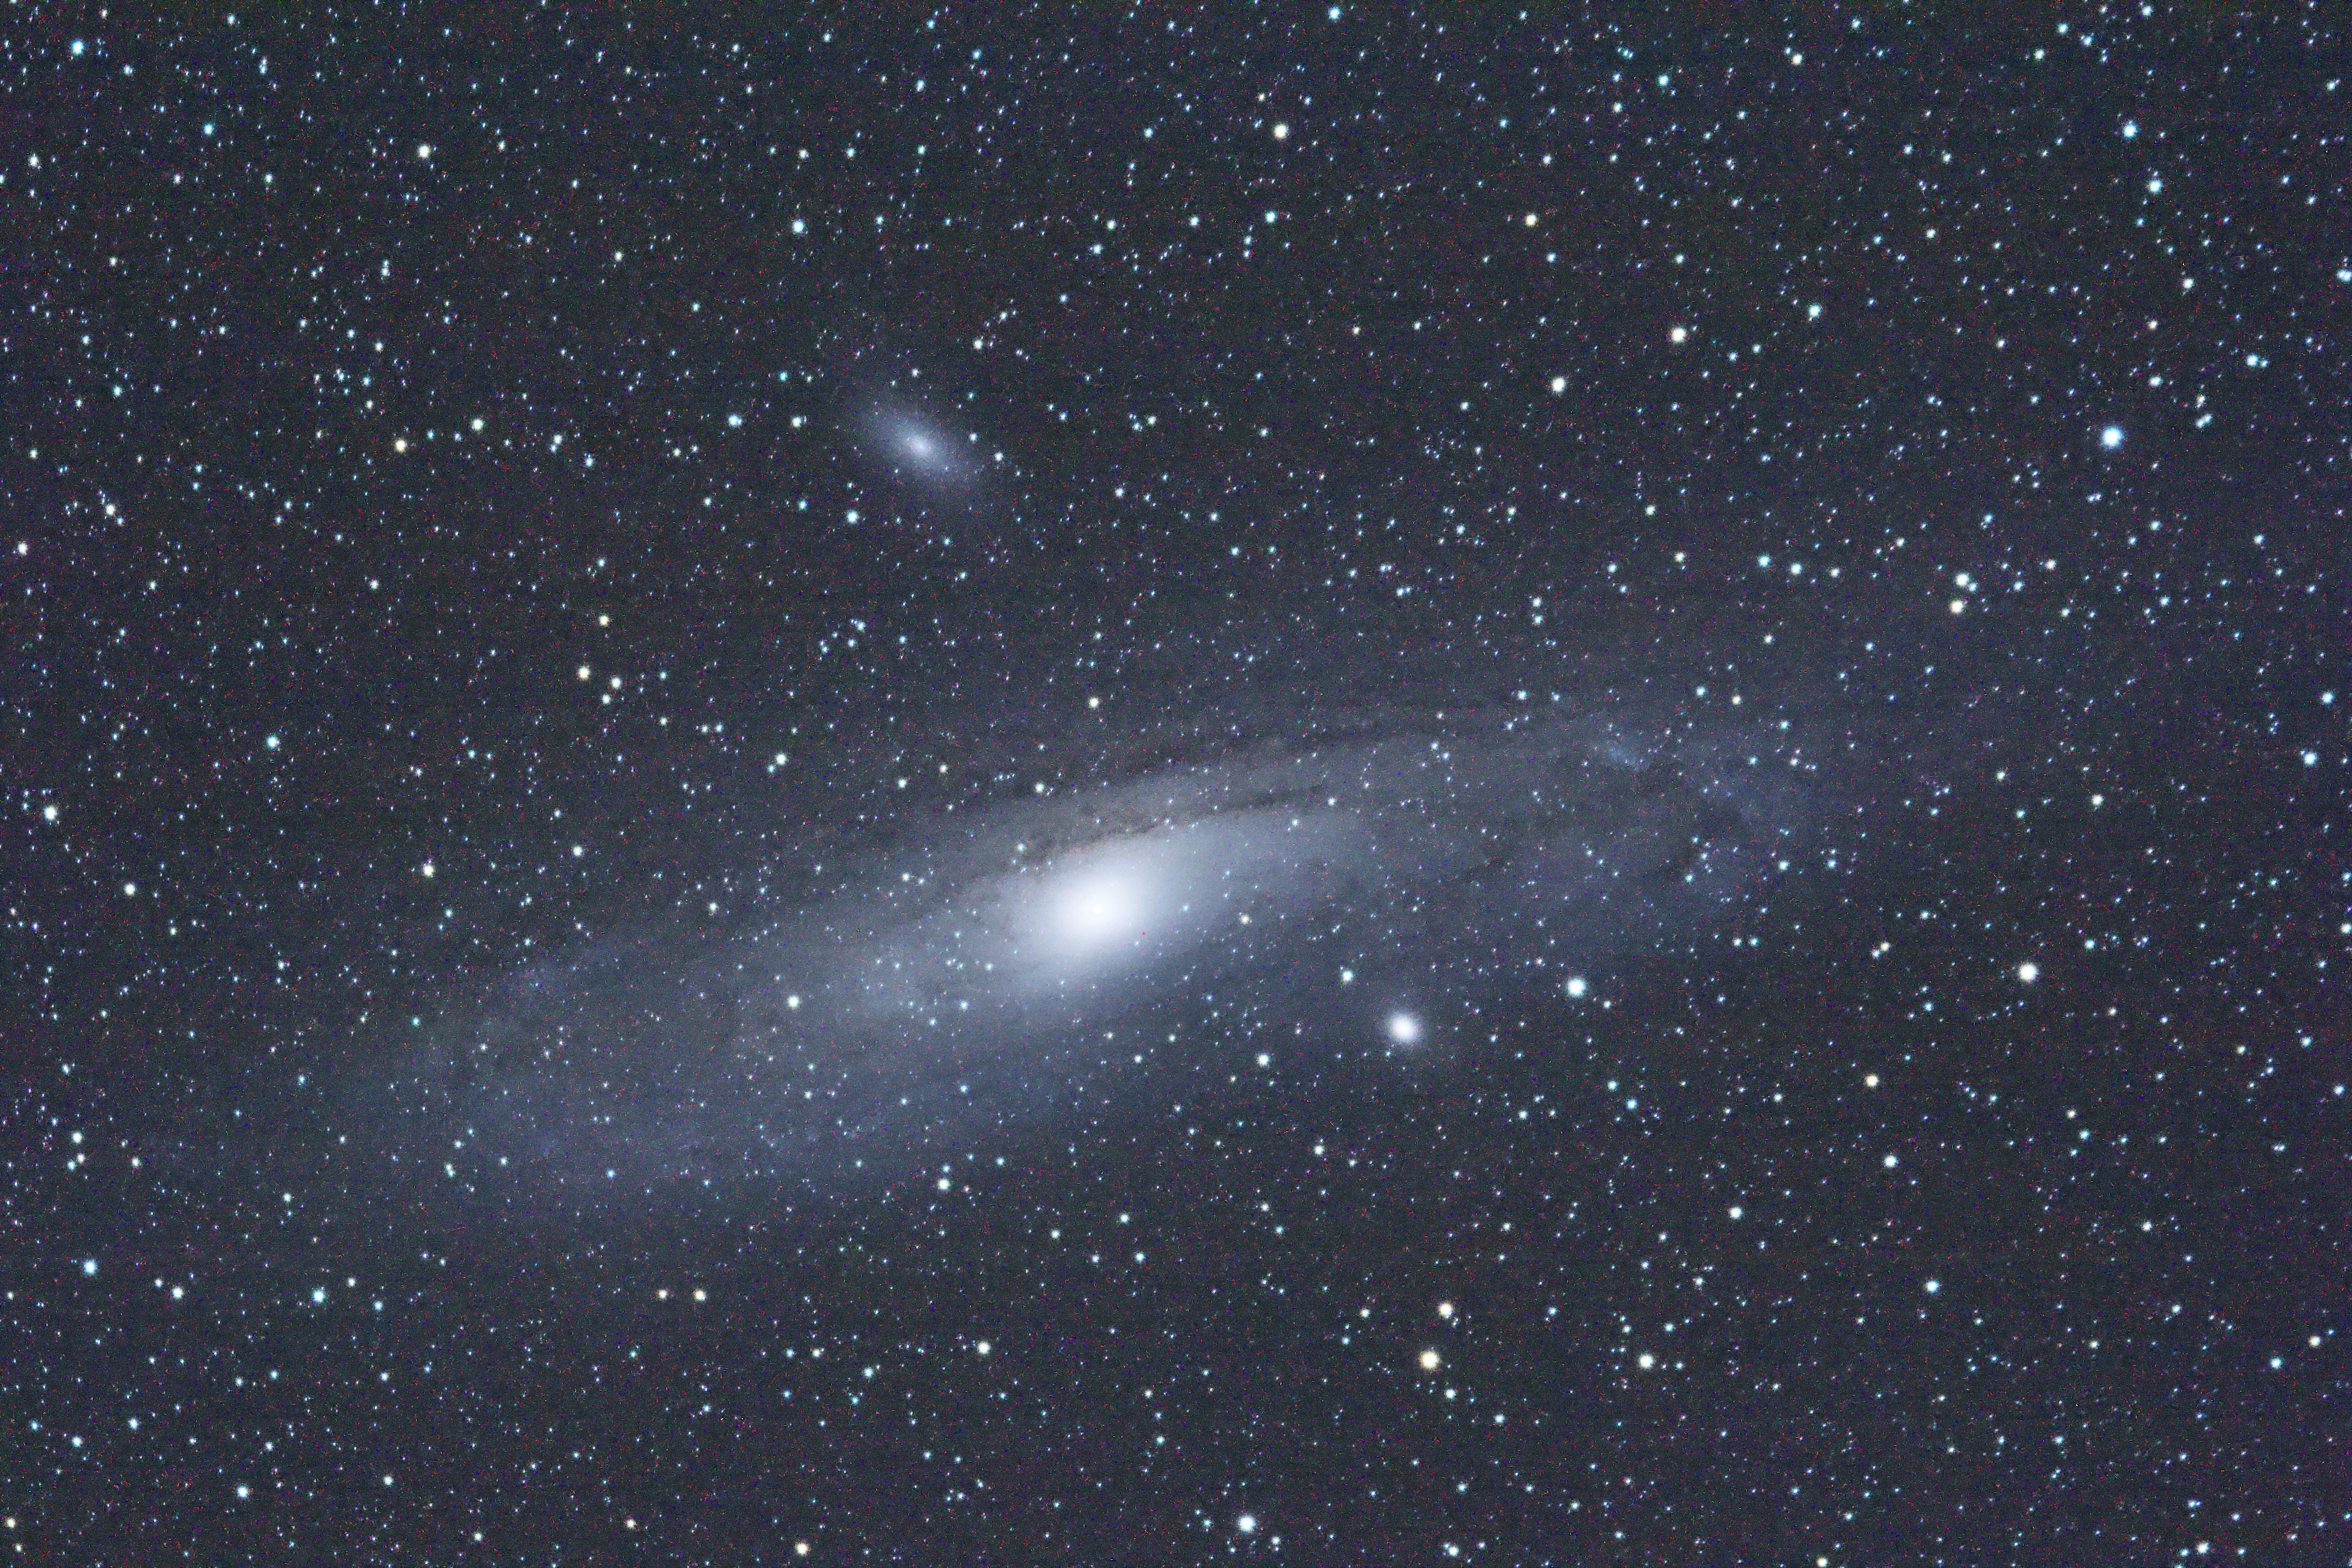
I started to learn how to use PixInsight, a powerhouse astrophotography processing tool, in the winter of 2022. I learned enough to be able to stack 18 3 minute images to make my Christmas card photo and the picture I am still using as my computer background at work.
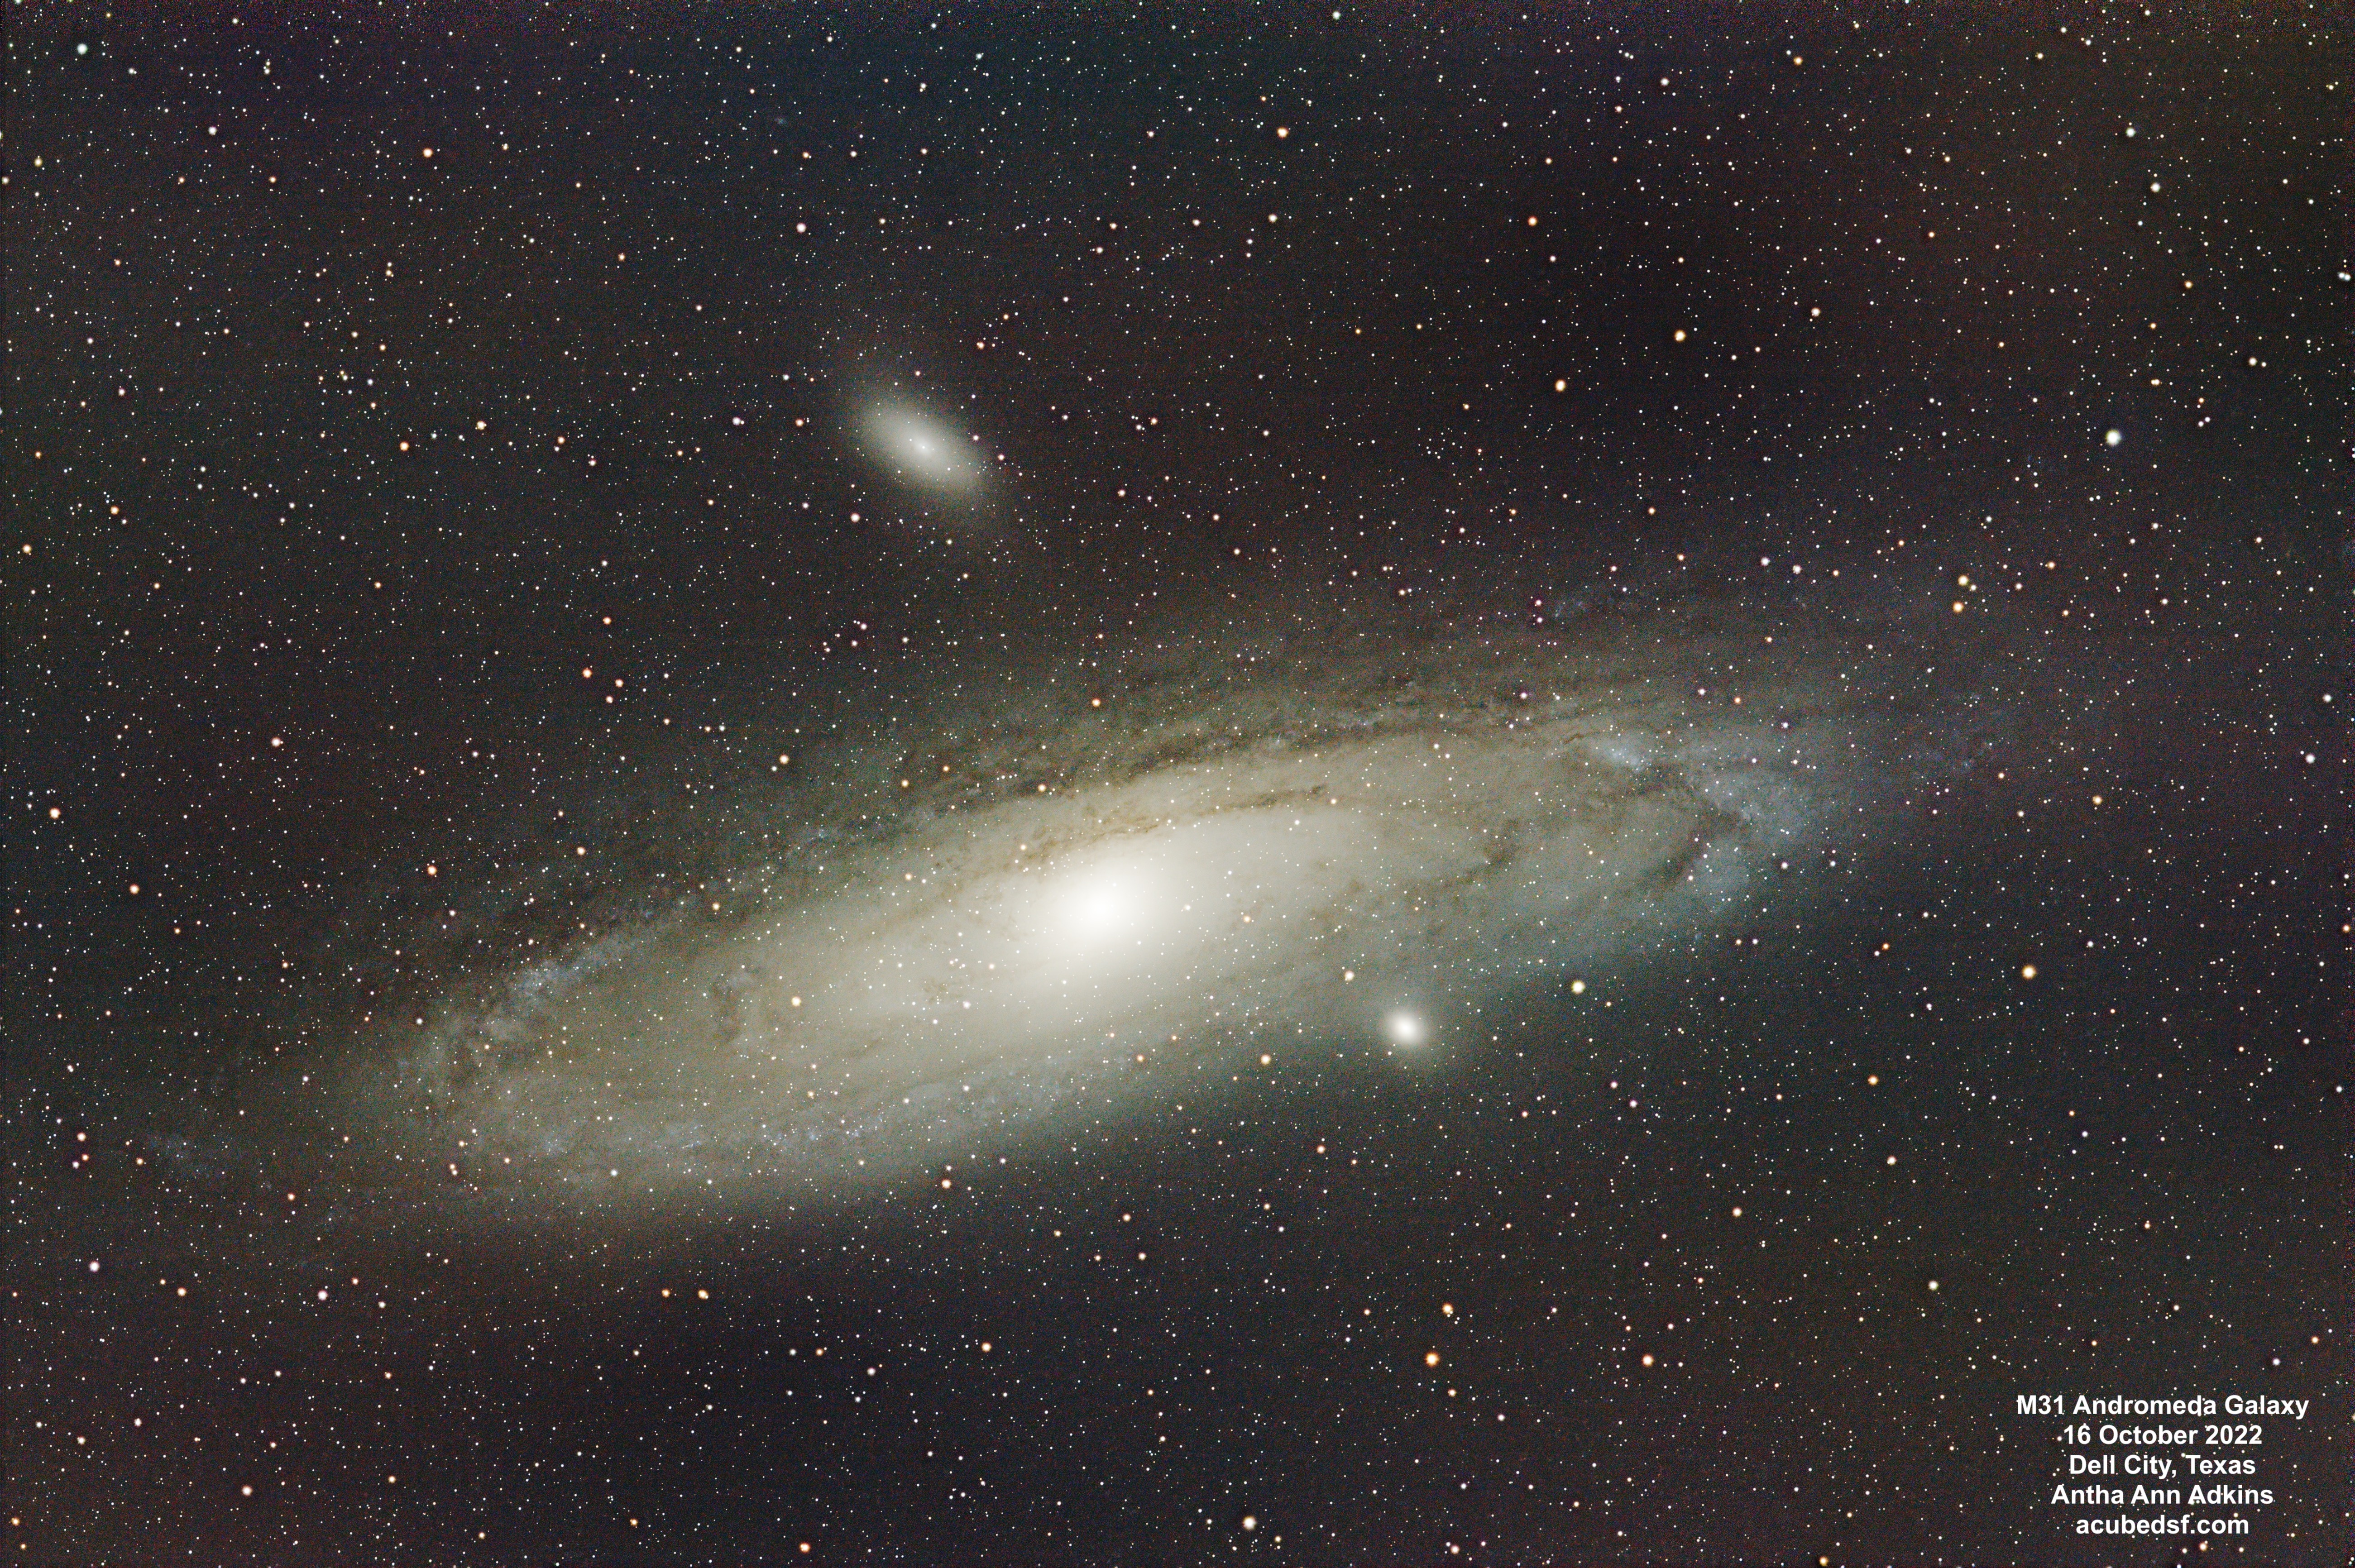
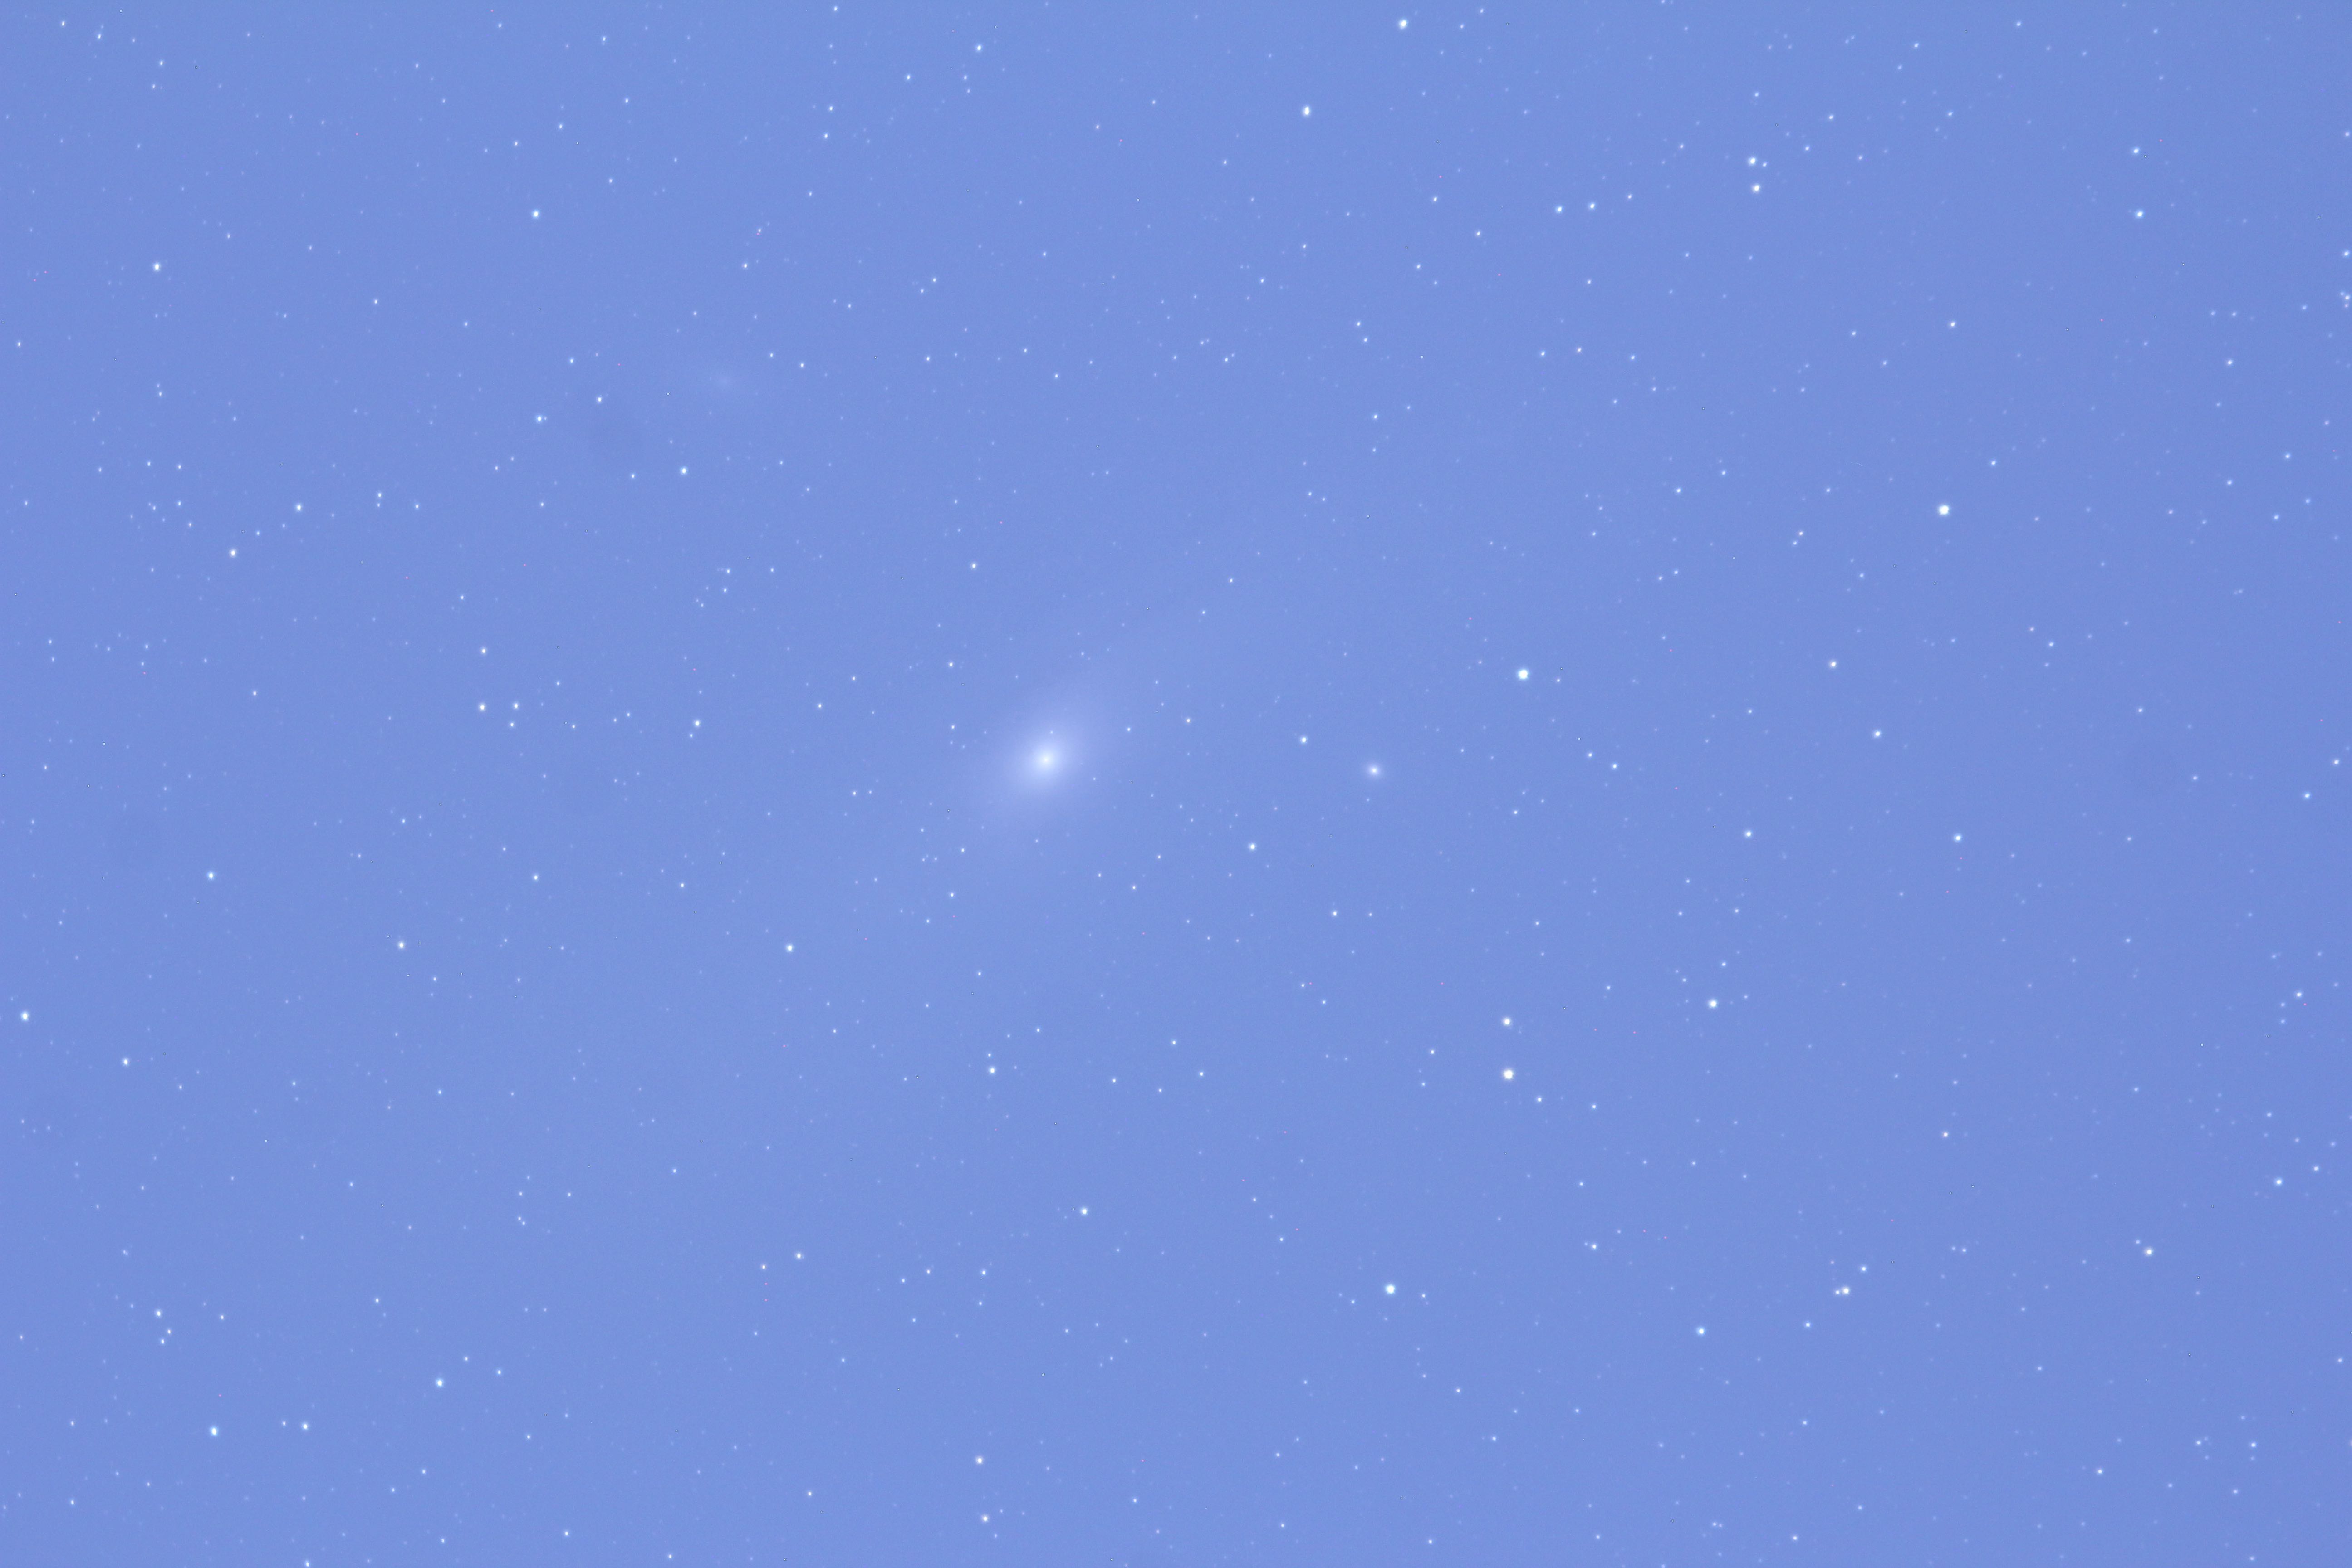
I’ve learned a more about astrophotography processing since then, most notably adding Russ Croman’s excellent BlurXterminator, NoiseXterminator, and StarXterminator tools to my toolbox and learning a ton from Adam Block’s videos. So I reprocessed the data above using my current knowledge and toolset.
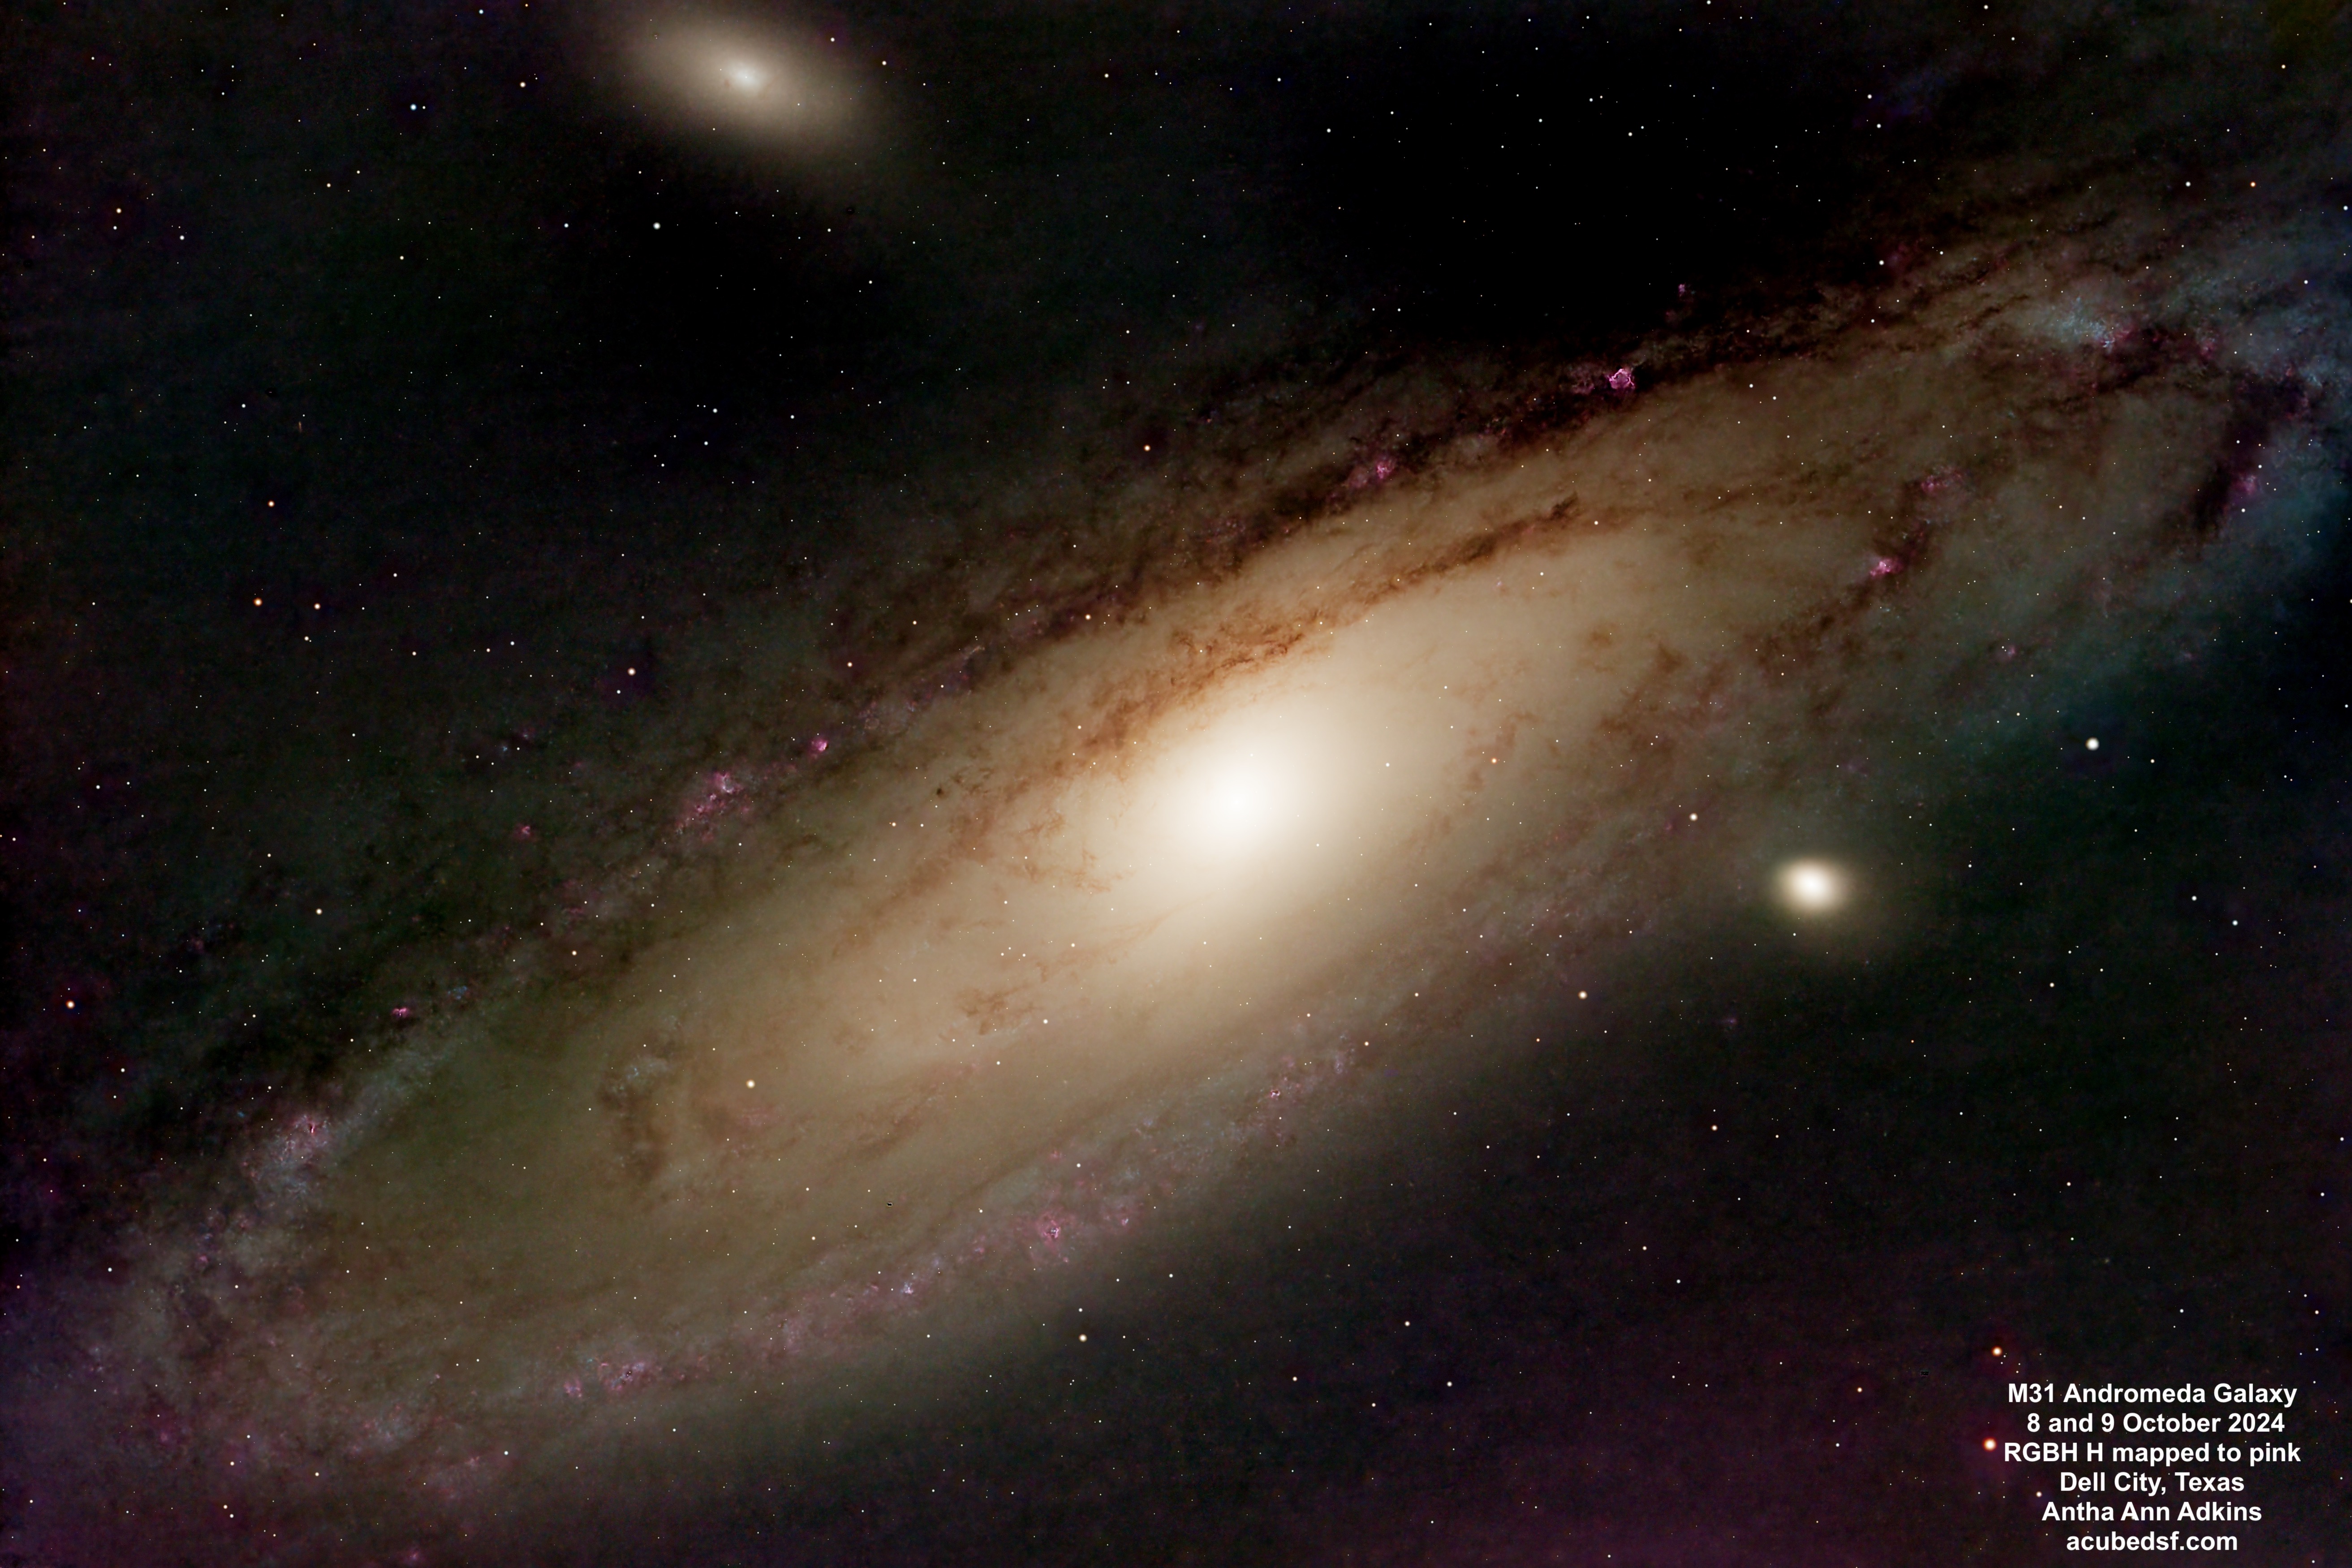
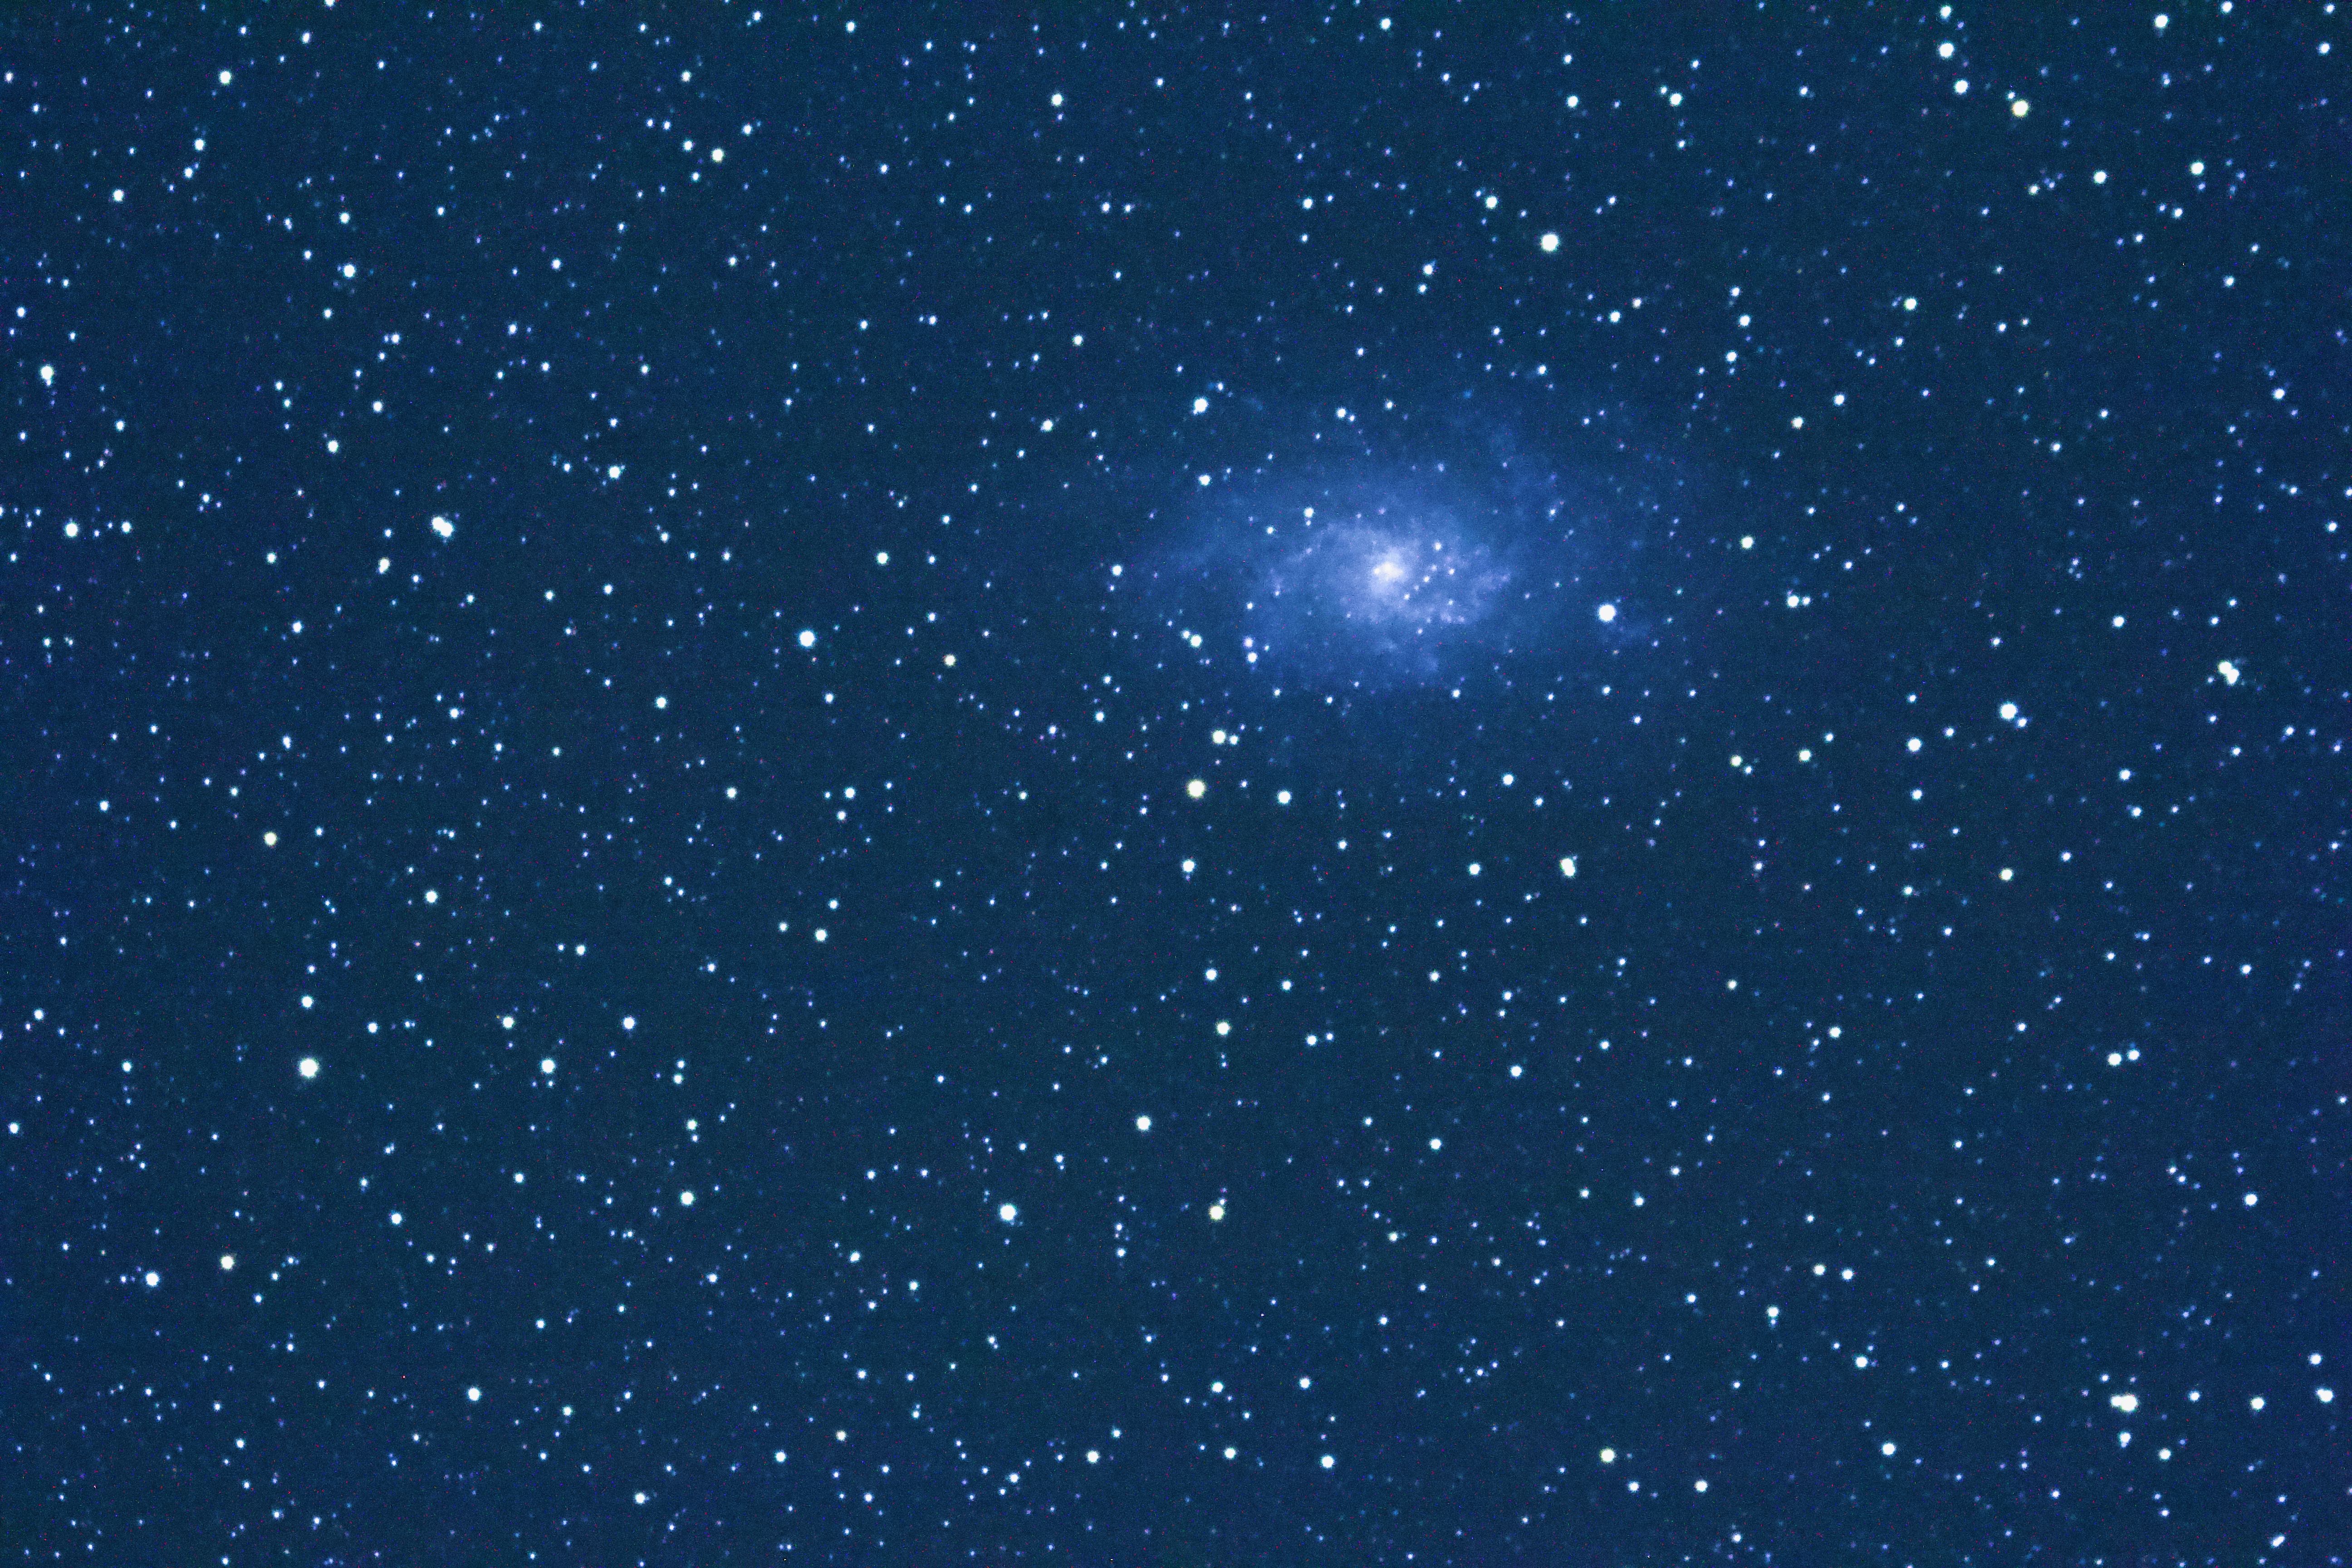
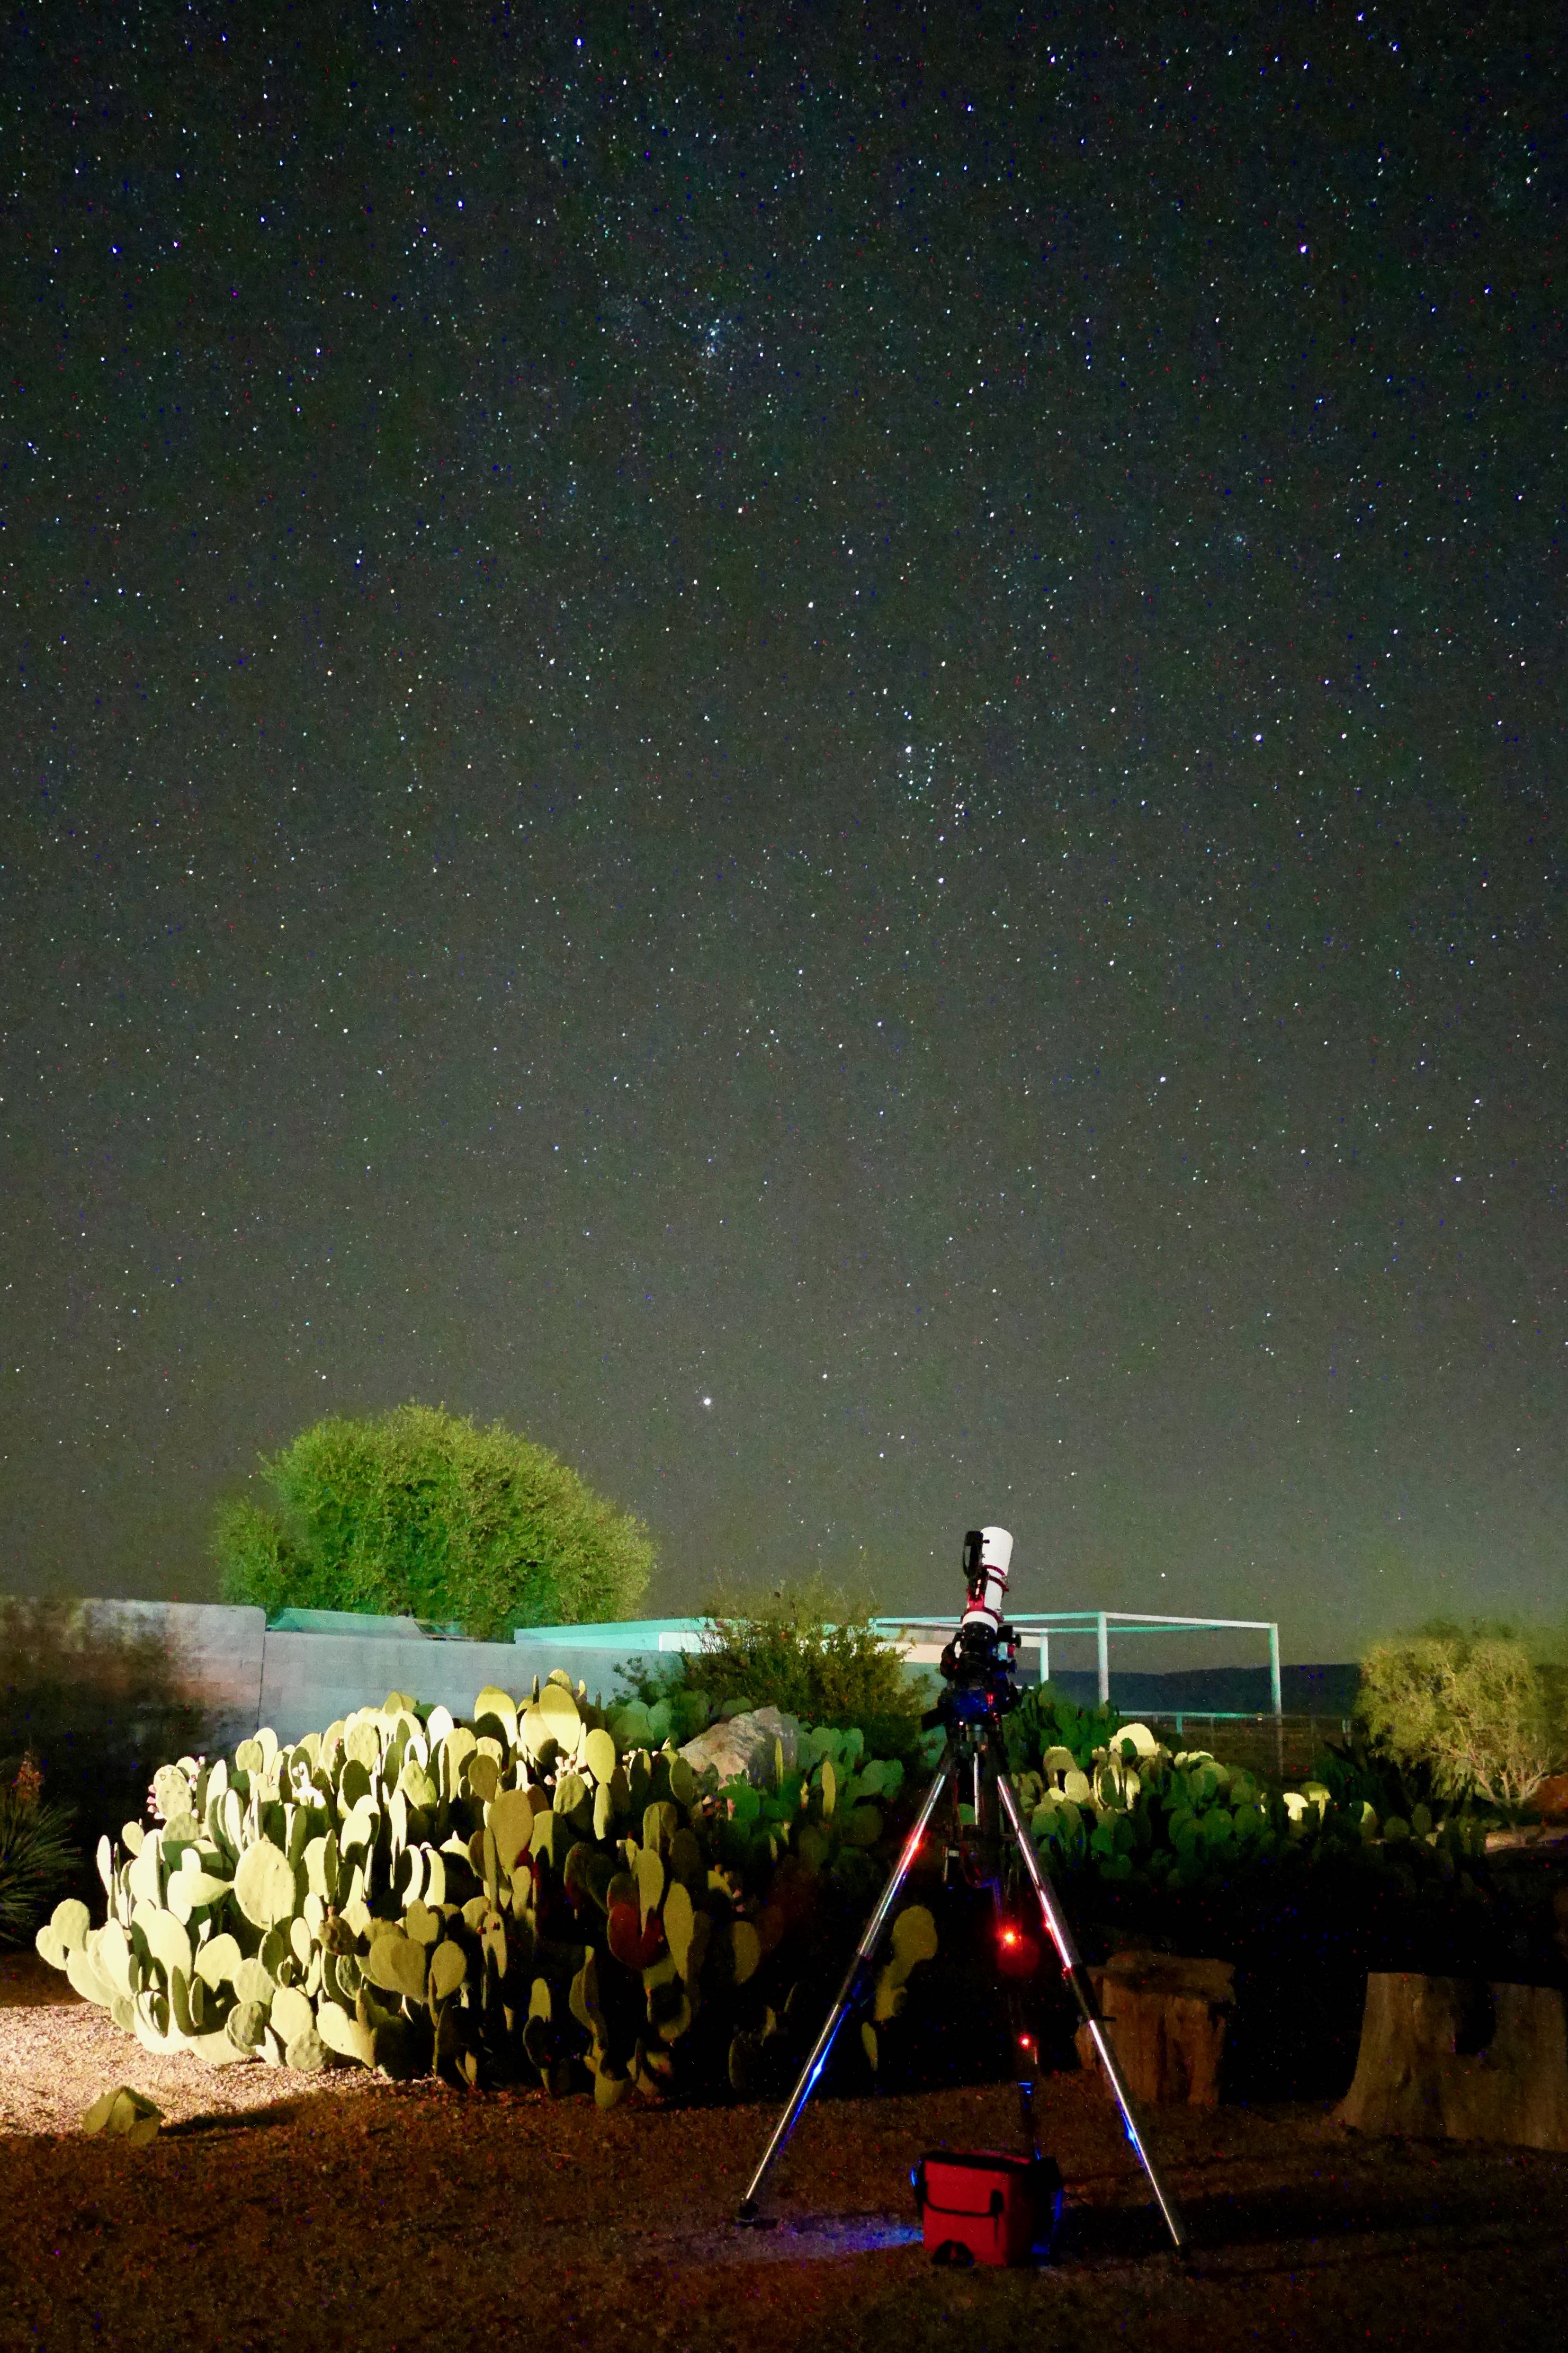
Finally, in October 2024, we were back in Dell City, and I collected new M31 data using an astrocamera and red, blue, green and hydrogen-alpha filters. I had to learn more in order to be able to merge the Ha data into the RGB data. Luckily, there are Adam Block’s videos! One new trick I had to use was “continuum subtraction” – removing the background red from the stars from the Ha data.
Sometimes, when other things aren’t working out (comet processing), it’s good to step back and see how far you’ve come. I’ve learned a lot over two years … and I’m looking forward to learning a lot more!
What are you learning about?